If you're an instructor looking to share your expertise with learners on LEEP Academy, this guide will walk you through the 8 simple steps to create and upload your course successfully.
Step 1: Basic Information
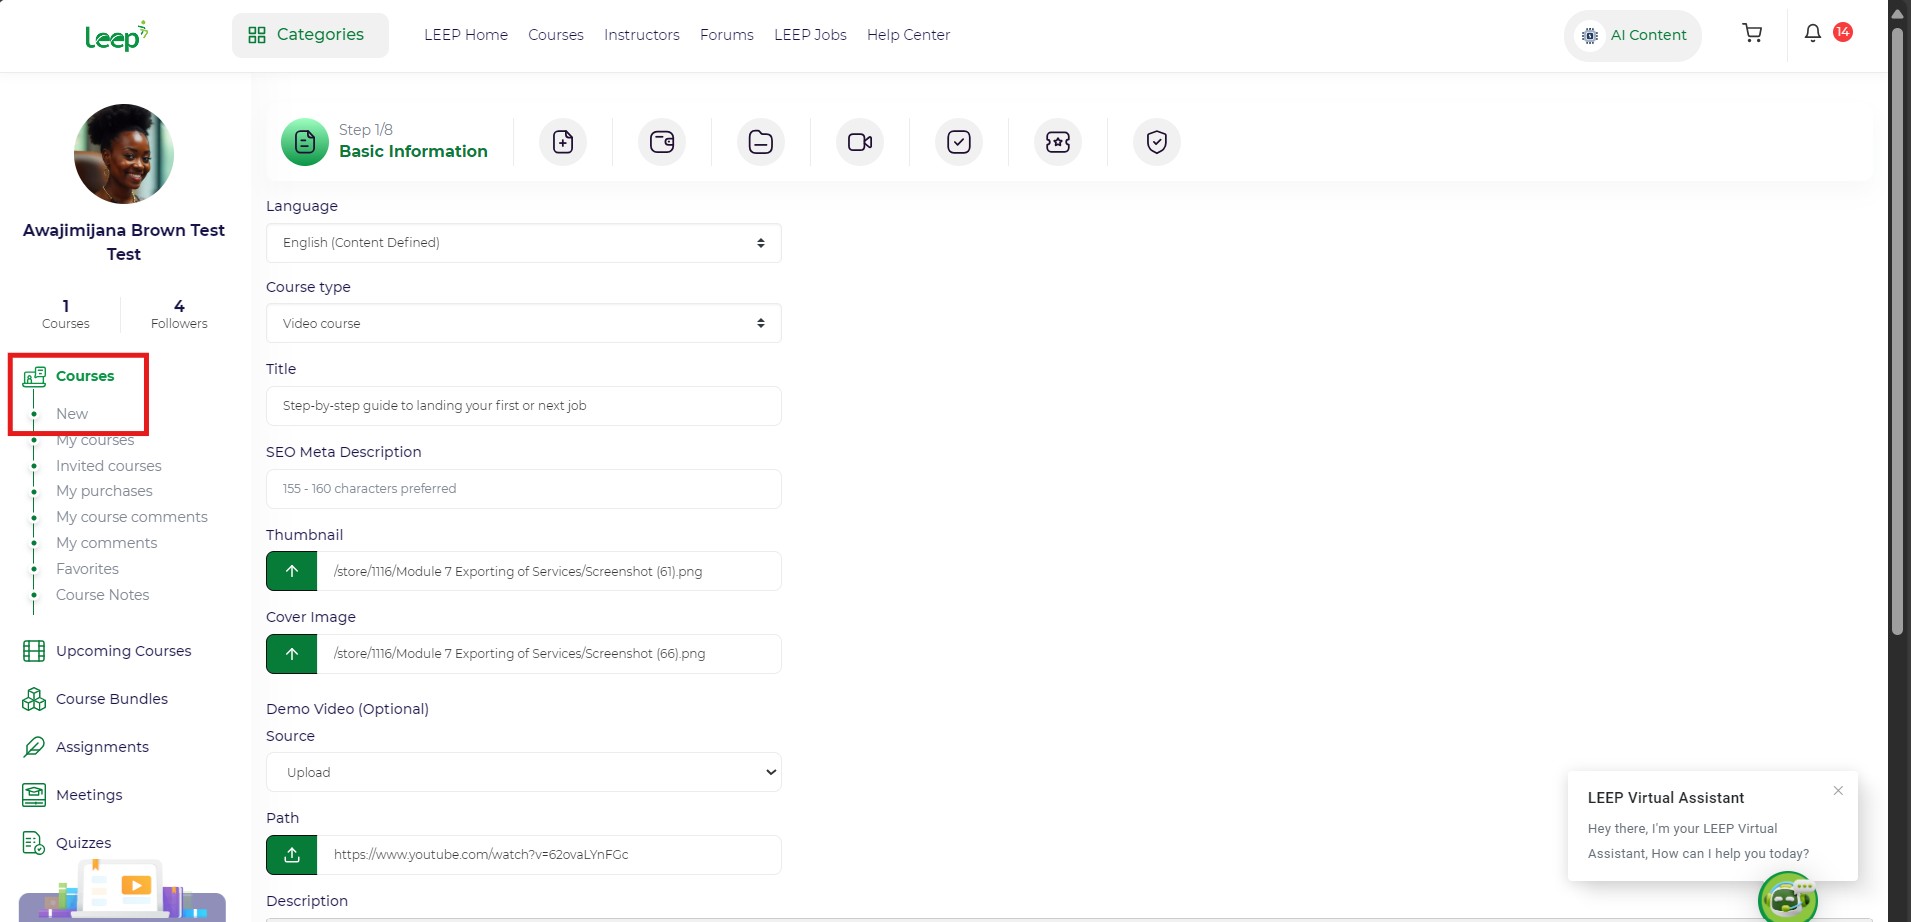
- Go to your Dashboard and click on Courses > New.
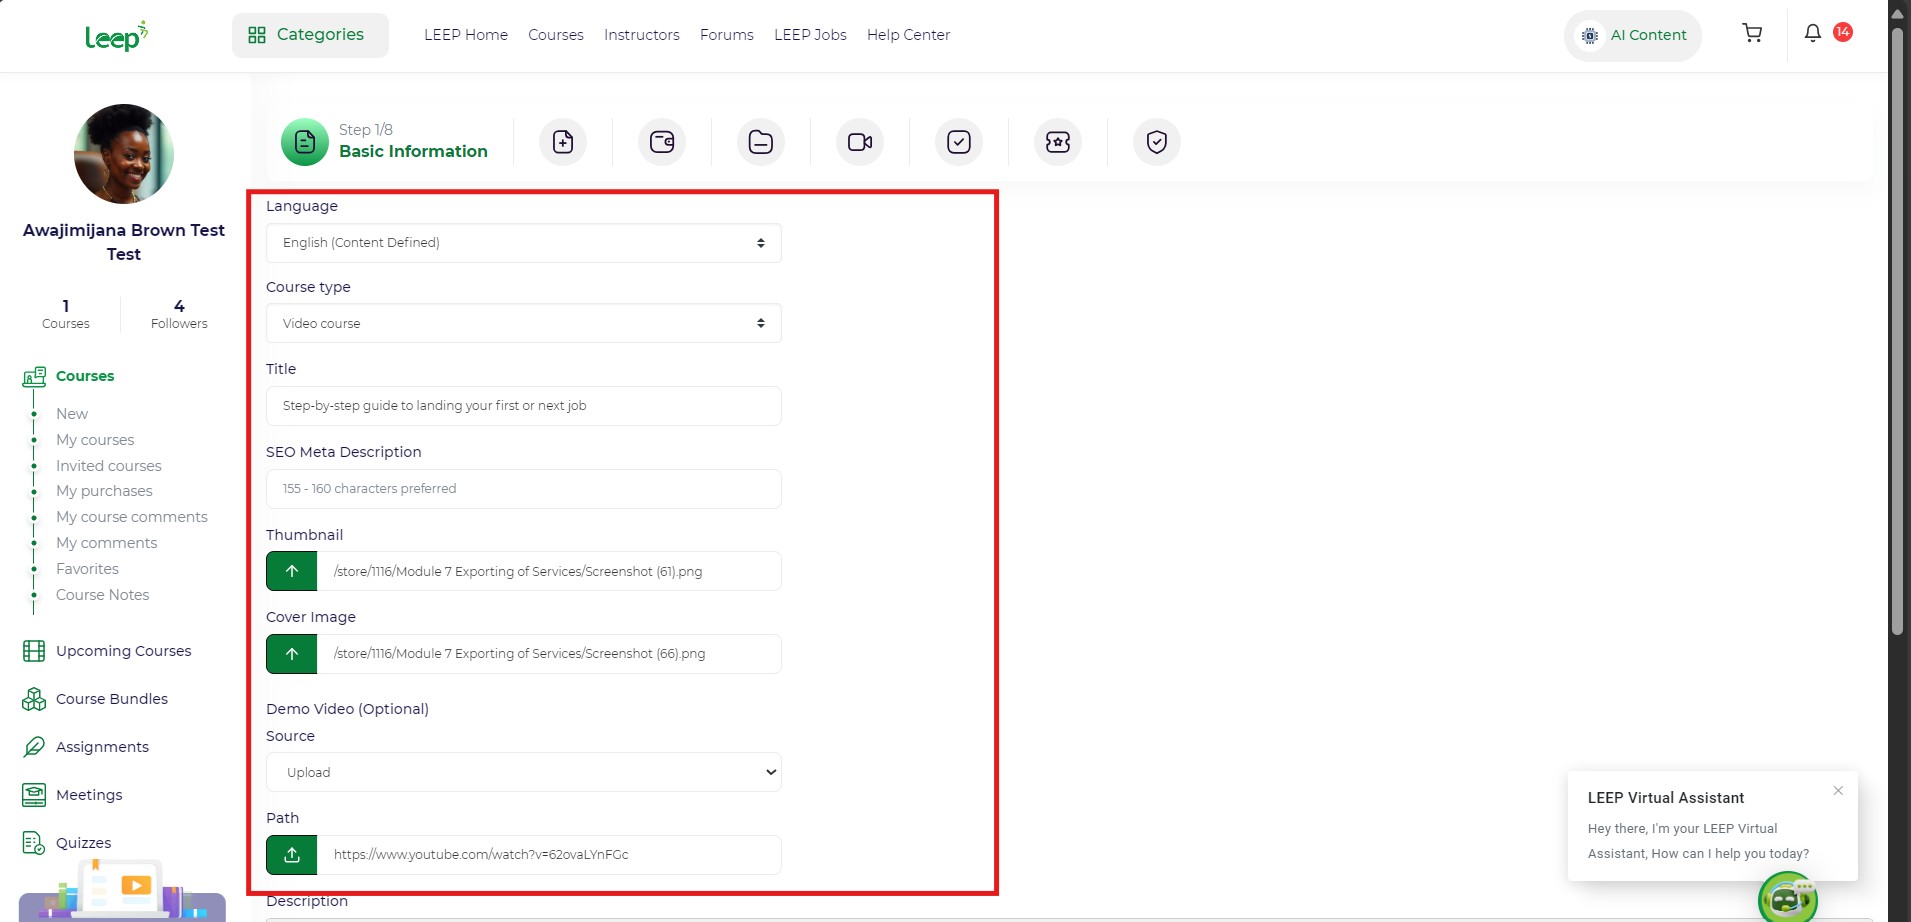
- Select Language (e.g., English).
- Choose Course Type – usually “Video Course”.
- Enter the Course Title (e.g., Step-by-step guide to landing your first or next job).
- Write a compelling SEO Meta Description (155-160 characters).
- Upload a Thumbnail and Cover Image.
- (Optional) Add a Demo Video using a YouTube link or upload it directly.
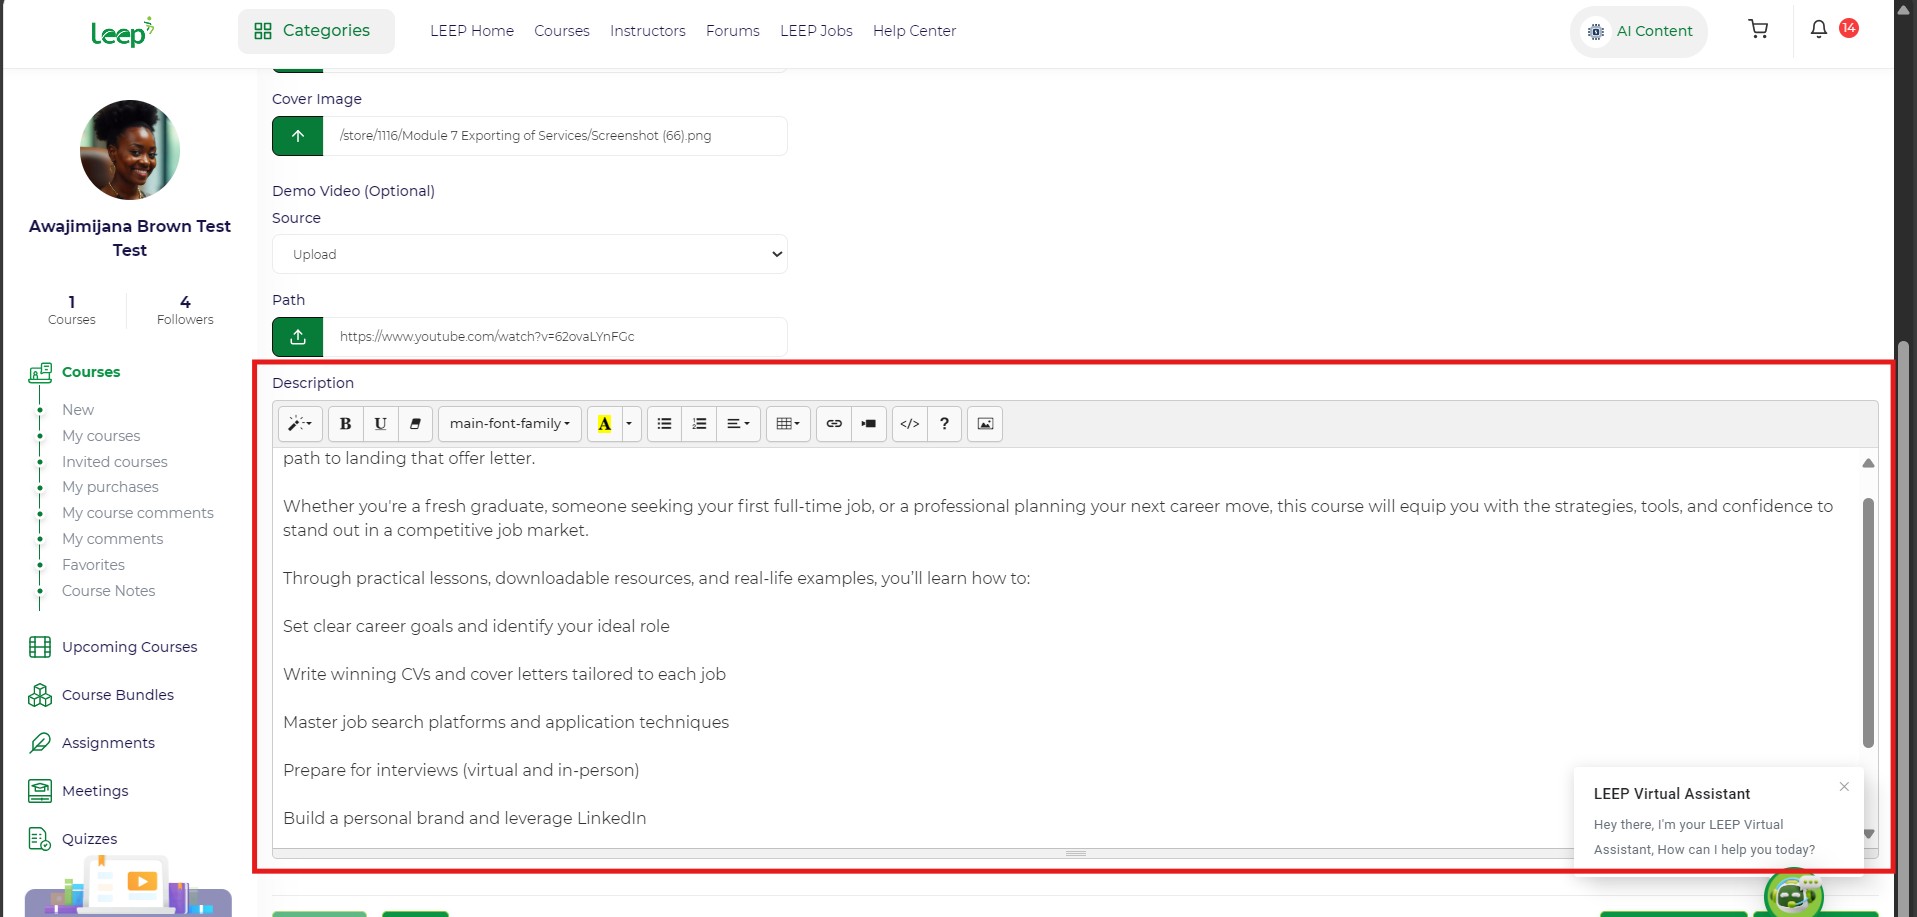
- Write a course description to tell students what the course is about.
This covers step 1
This covers step 2, 3, 4, 5, 6 and 7
Step 8
Click Next to proceed.
Step 2: Extra Information
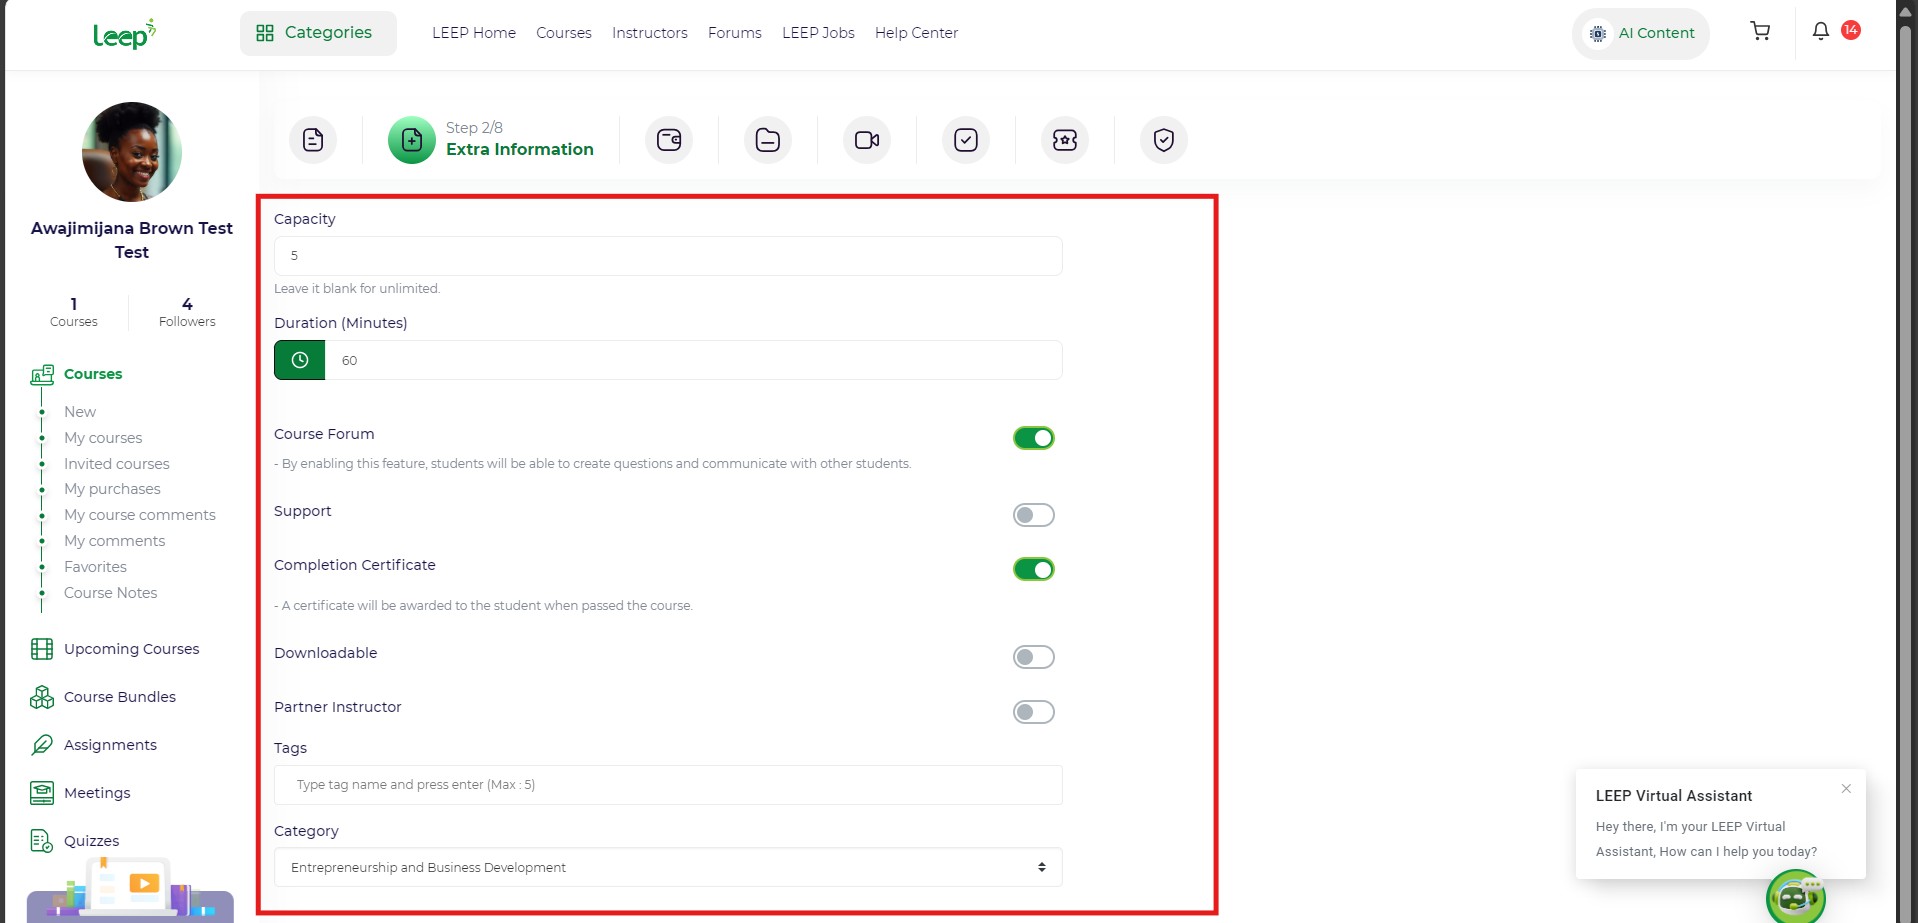
- Set Course Capacity (e.g., 5 students). Leave blank for unlimited access.
- Set Duration in minutes (e.g., 60).
- Enable: Course forum if you want student to interact; questions and communicate with other students
- Mark as Downloadable if students should download the course.
- (Optional) Enable Partner Instructor if you are co-teaching.
- Add Tags (max 5) to help categorize your course.
- Select a Category (e.g., Entrepreneurship and Business Development).
This covers all steps mentioned above
Click Next to move forward.
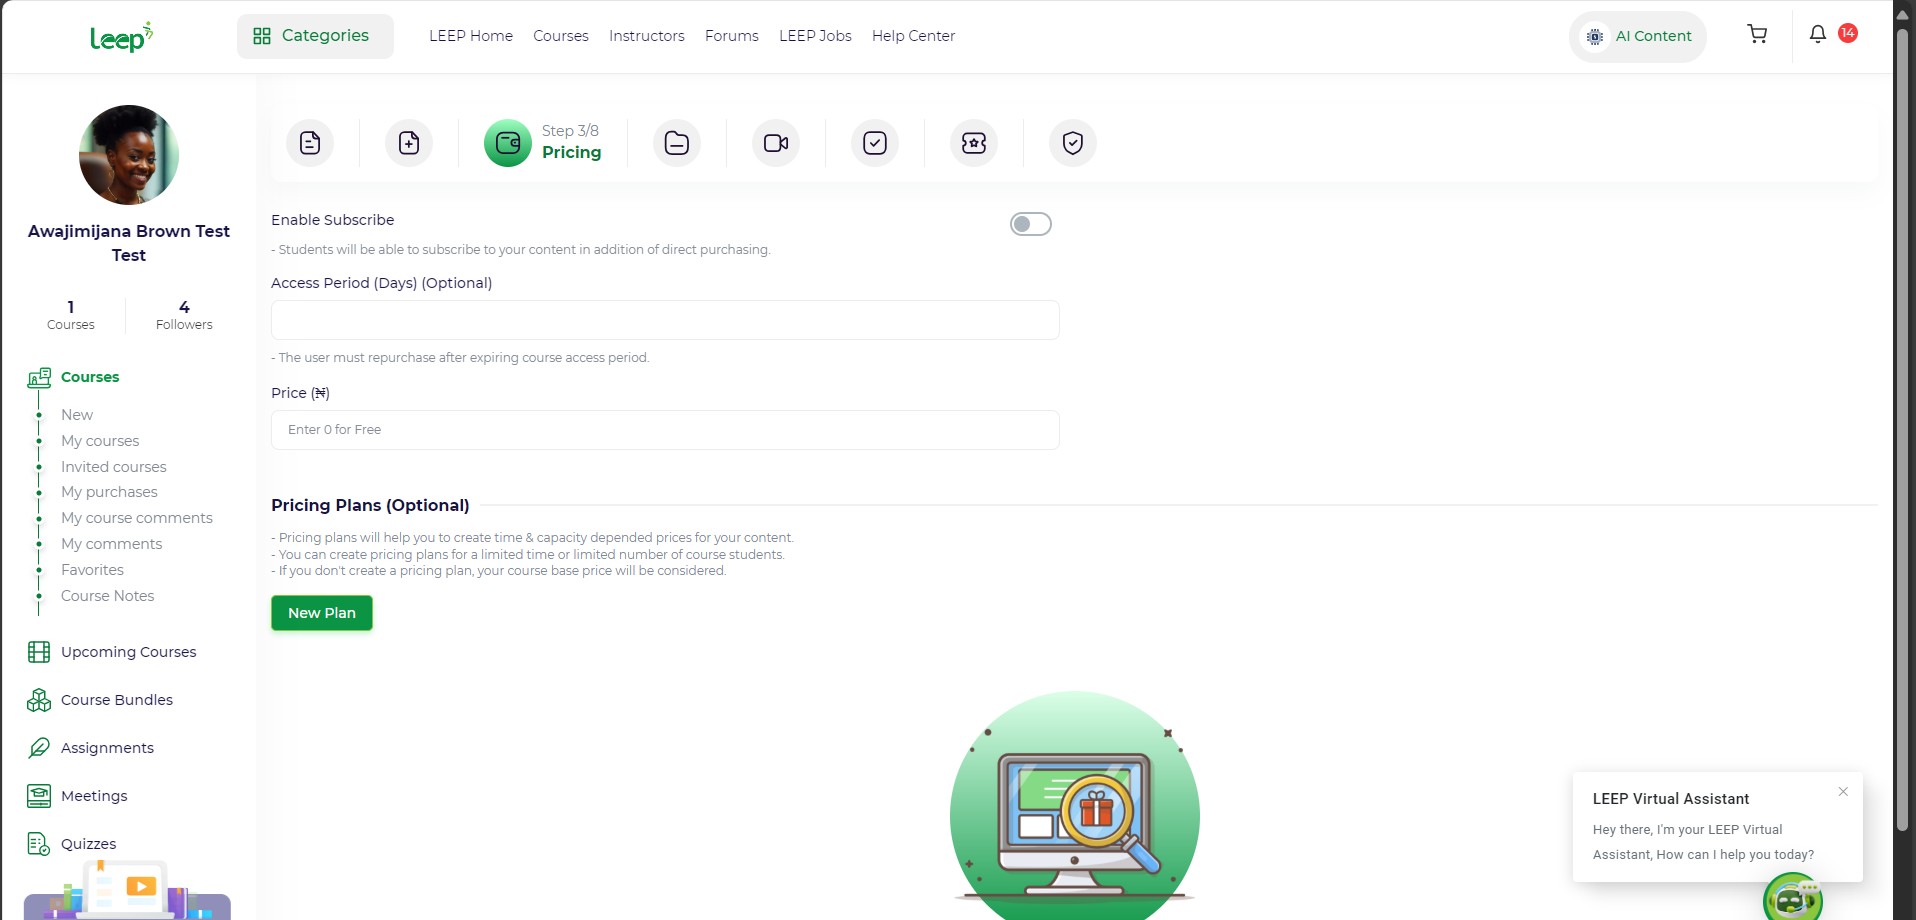
Step 3: Pricing
- You can enable subscriptions if students should subscribe to access.
- Set an Access Period (optional – days until access expires).
- Set your Course Price in ₦aira, otherwise input 0 if you want the course free.
- (Optional) Create Pricing Plans – useful for limited-time or limited-seat offers by click on the button "New Plan".
Click Next.
Step 4: Course Content
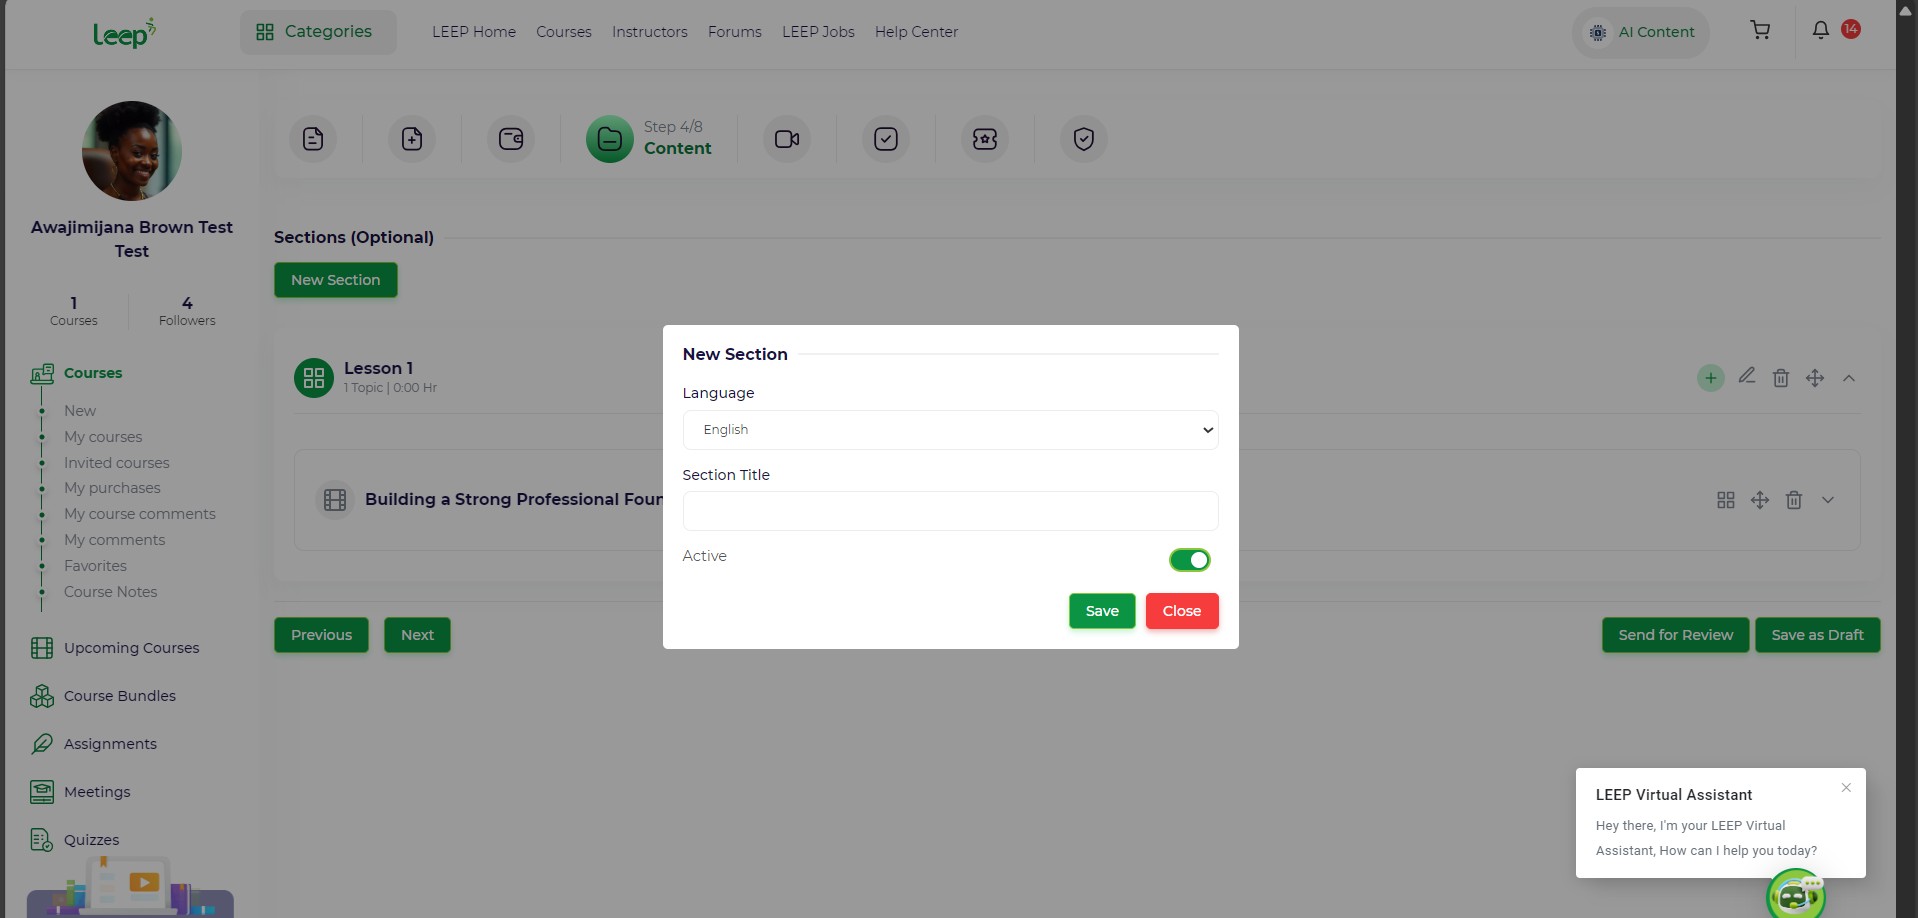
- Click New Section and add a Section Title (e.g., Lesson 1).
- Inside each section, add content:
- For each file: You can add multiple sections and organize your course structure effectively.
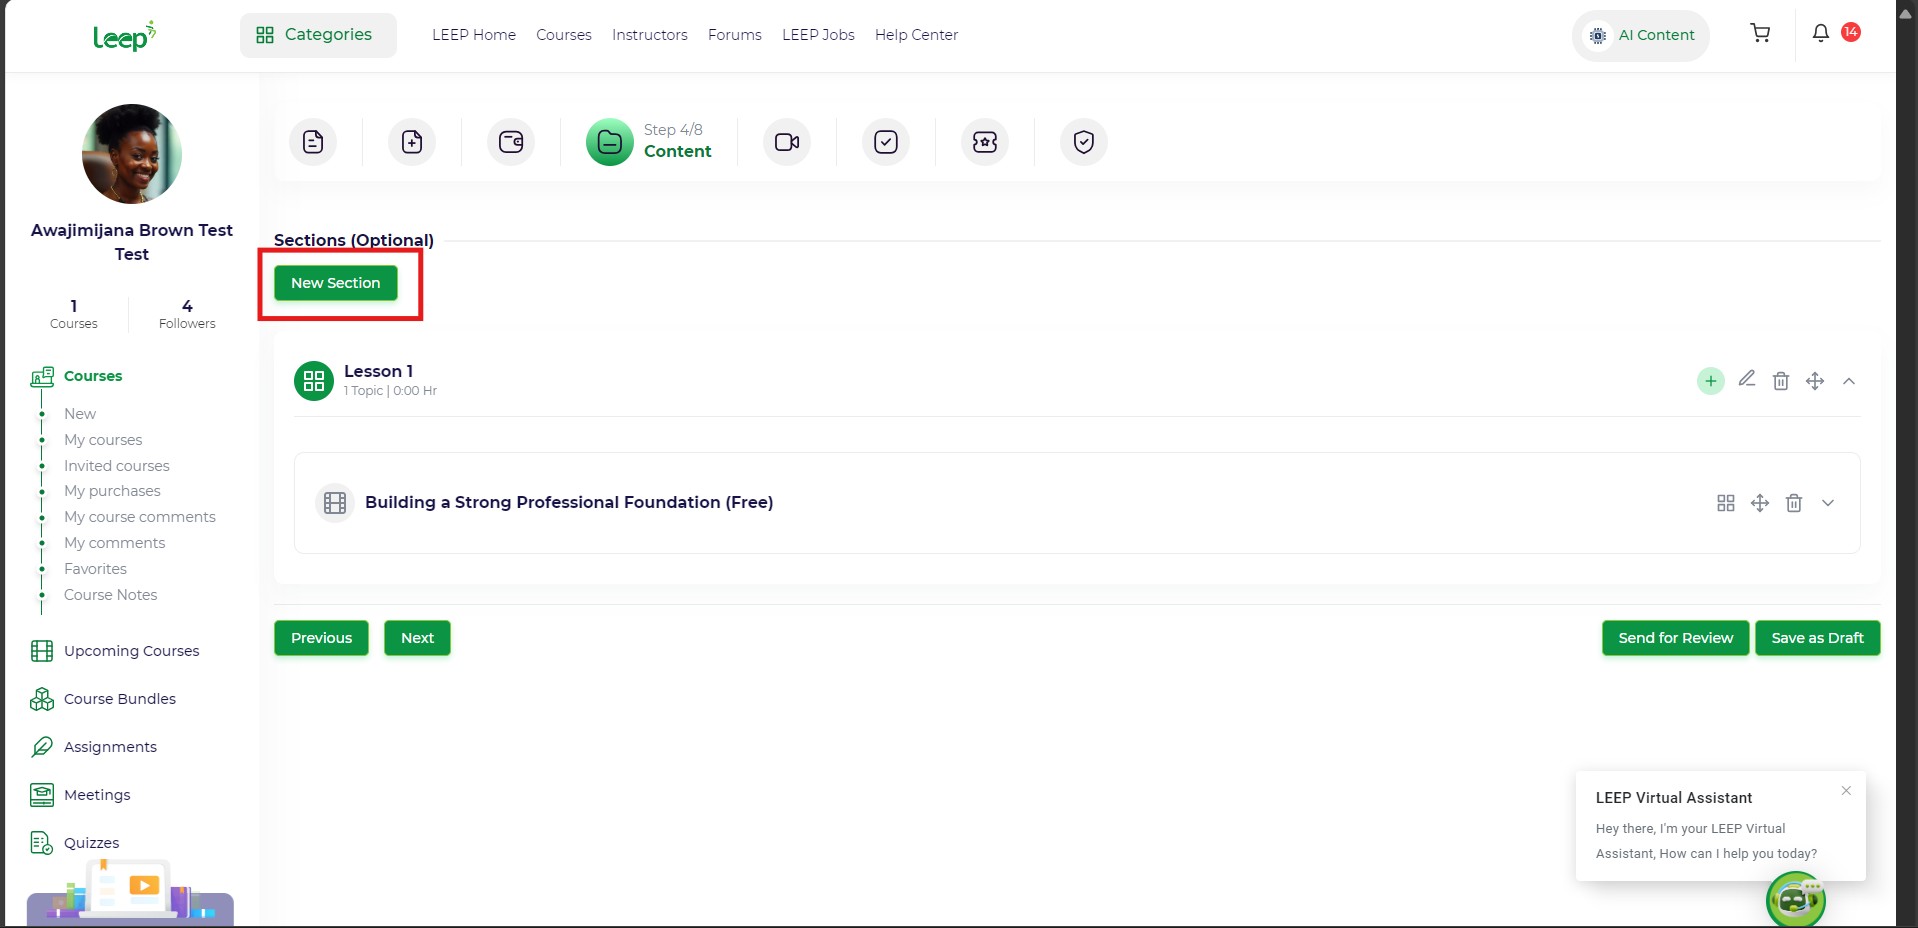
First step
Continuation of first step
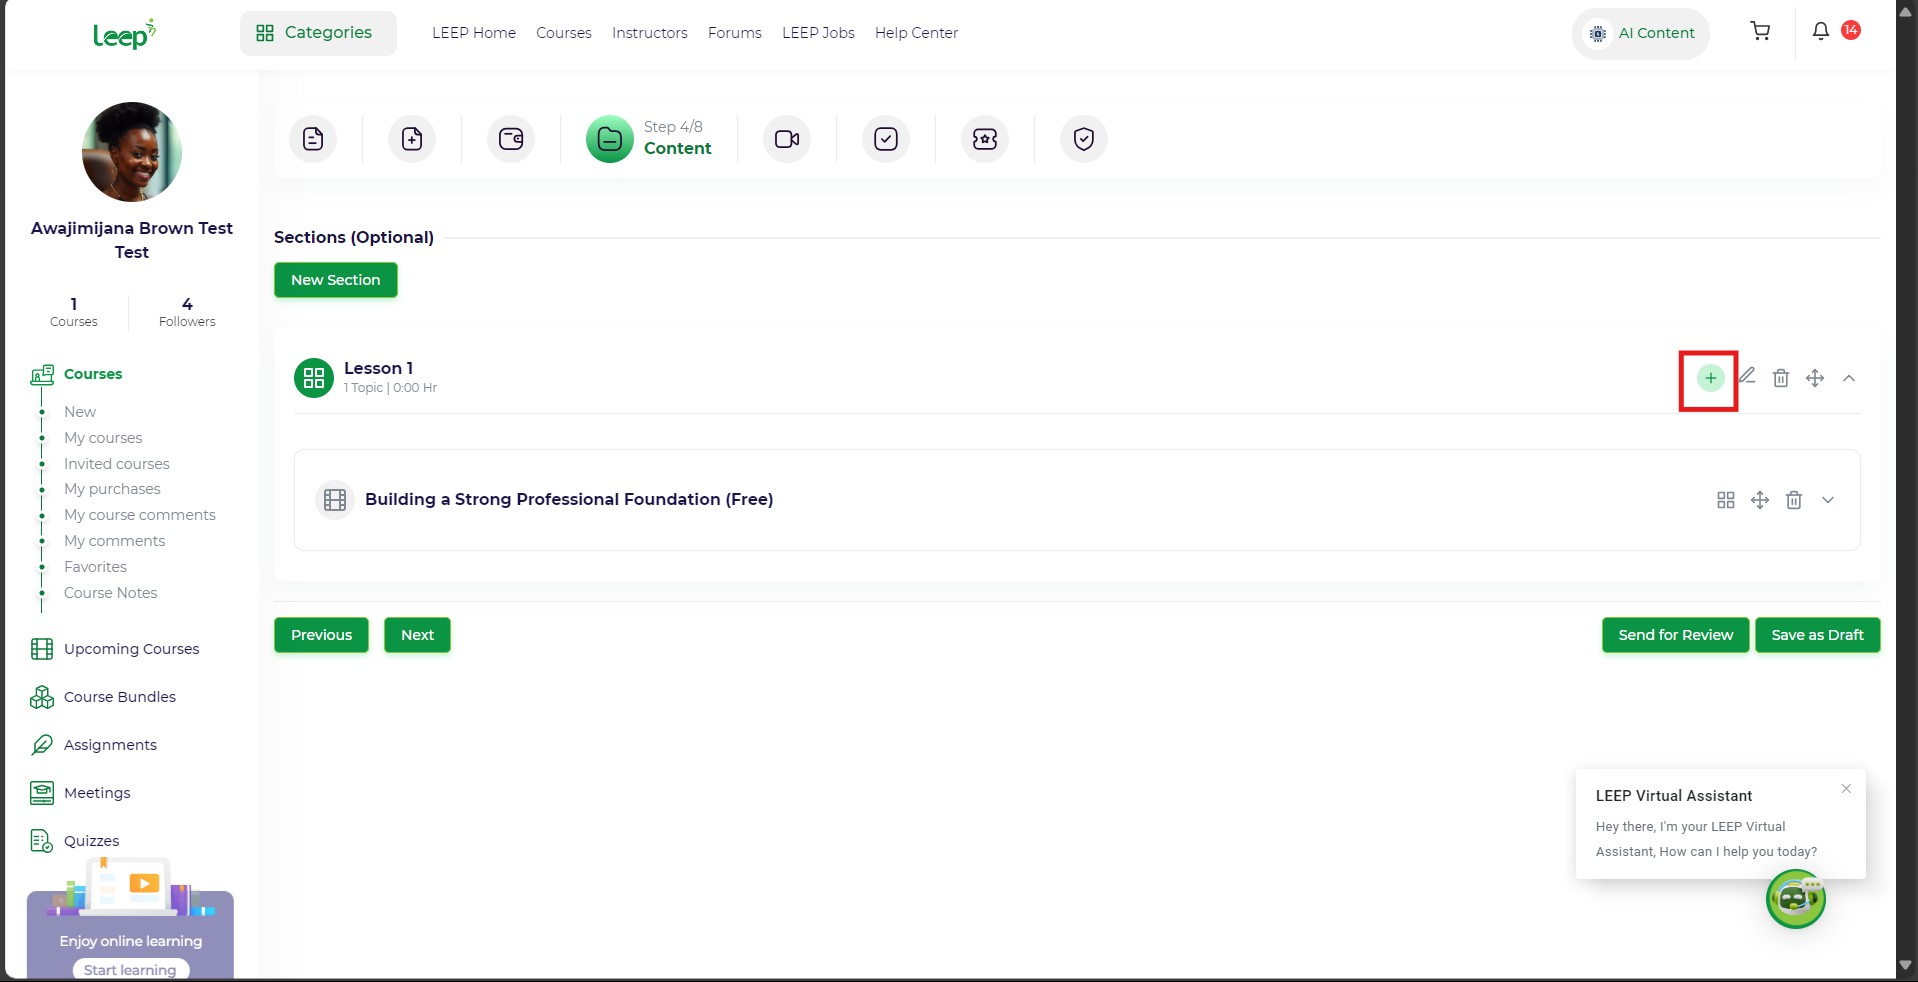
Click on the plus icon to add content to your newly created section.
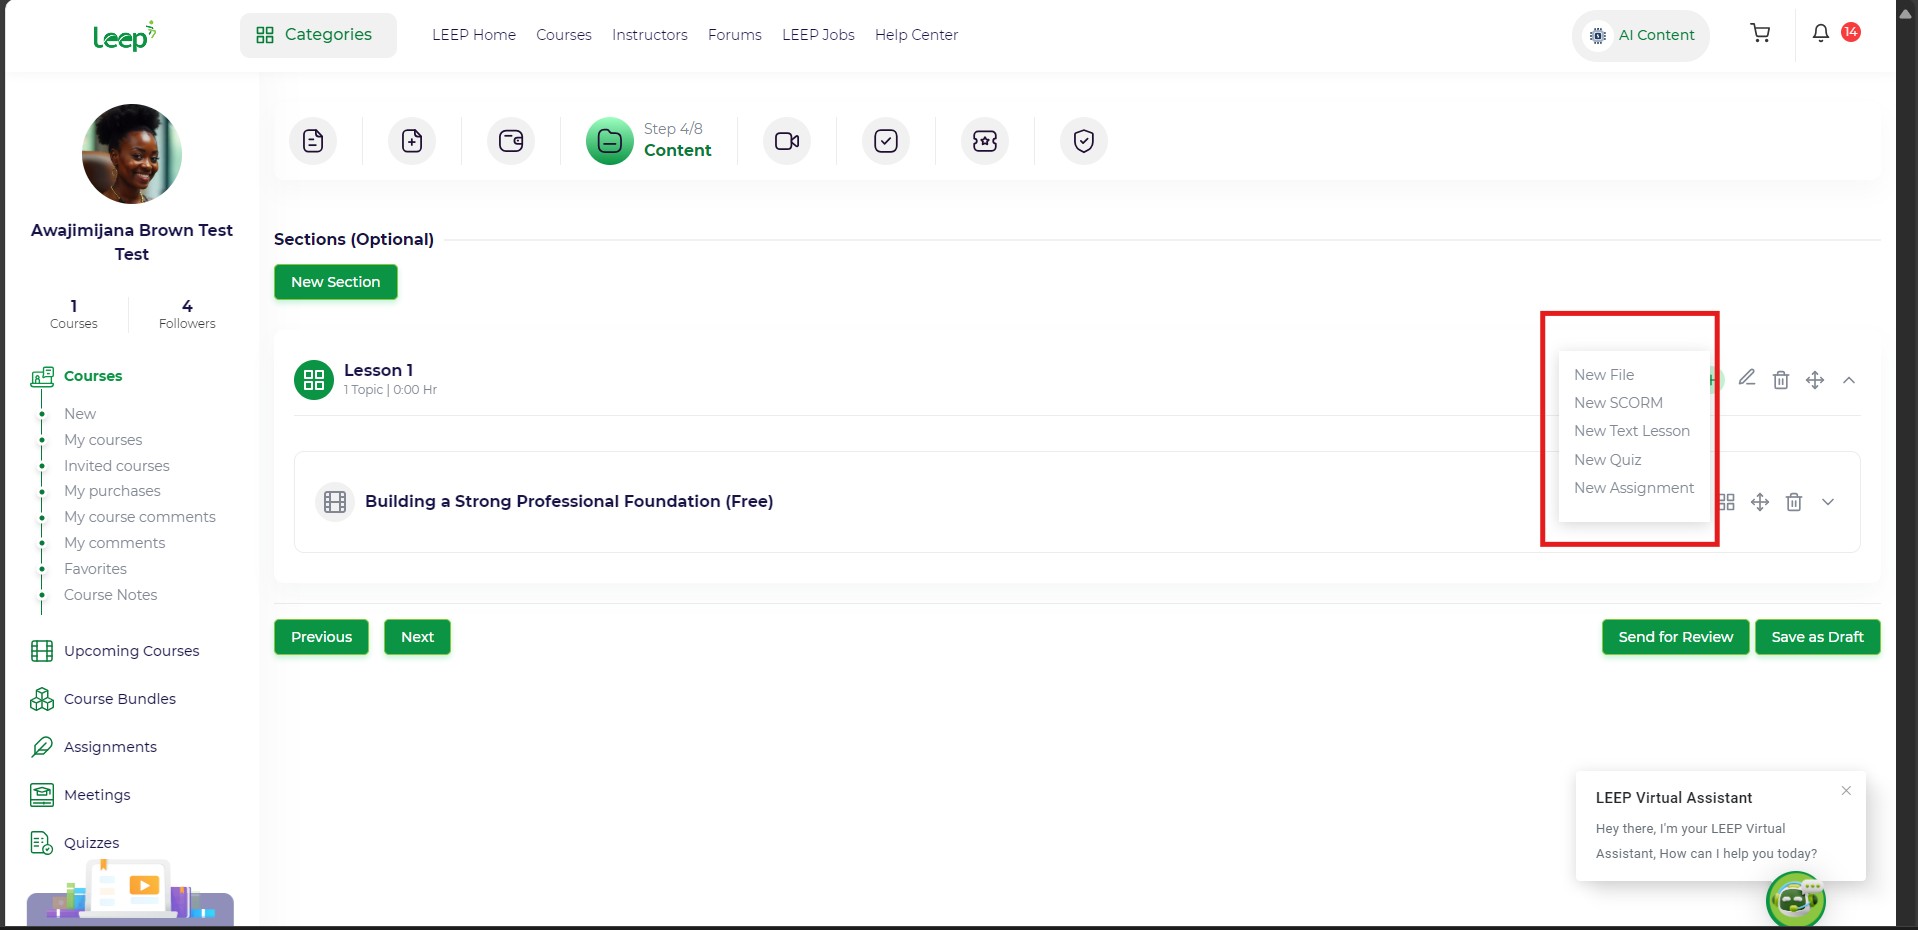
Select the kind of content you wish to create.
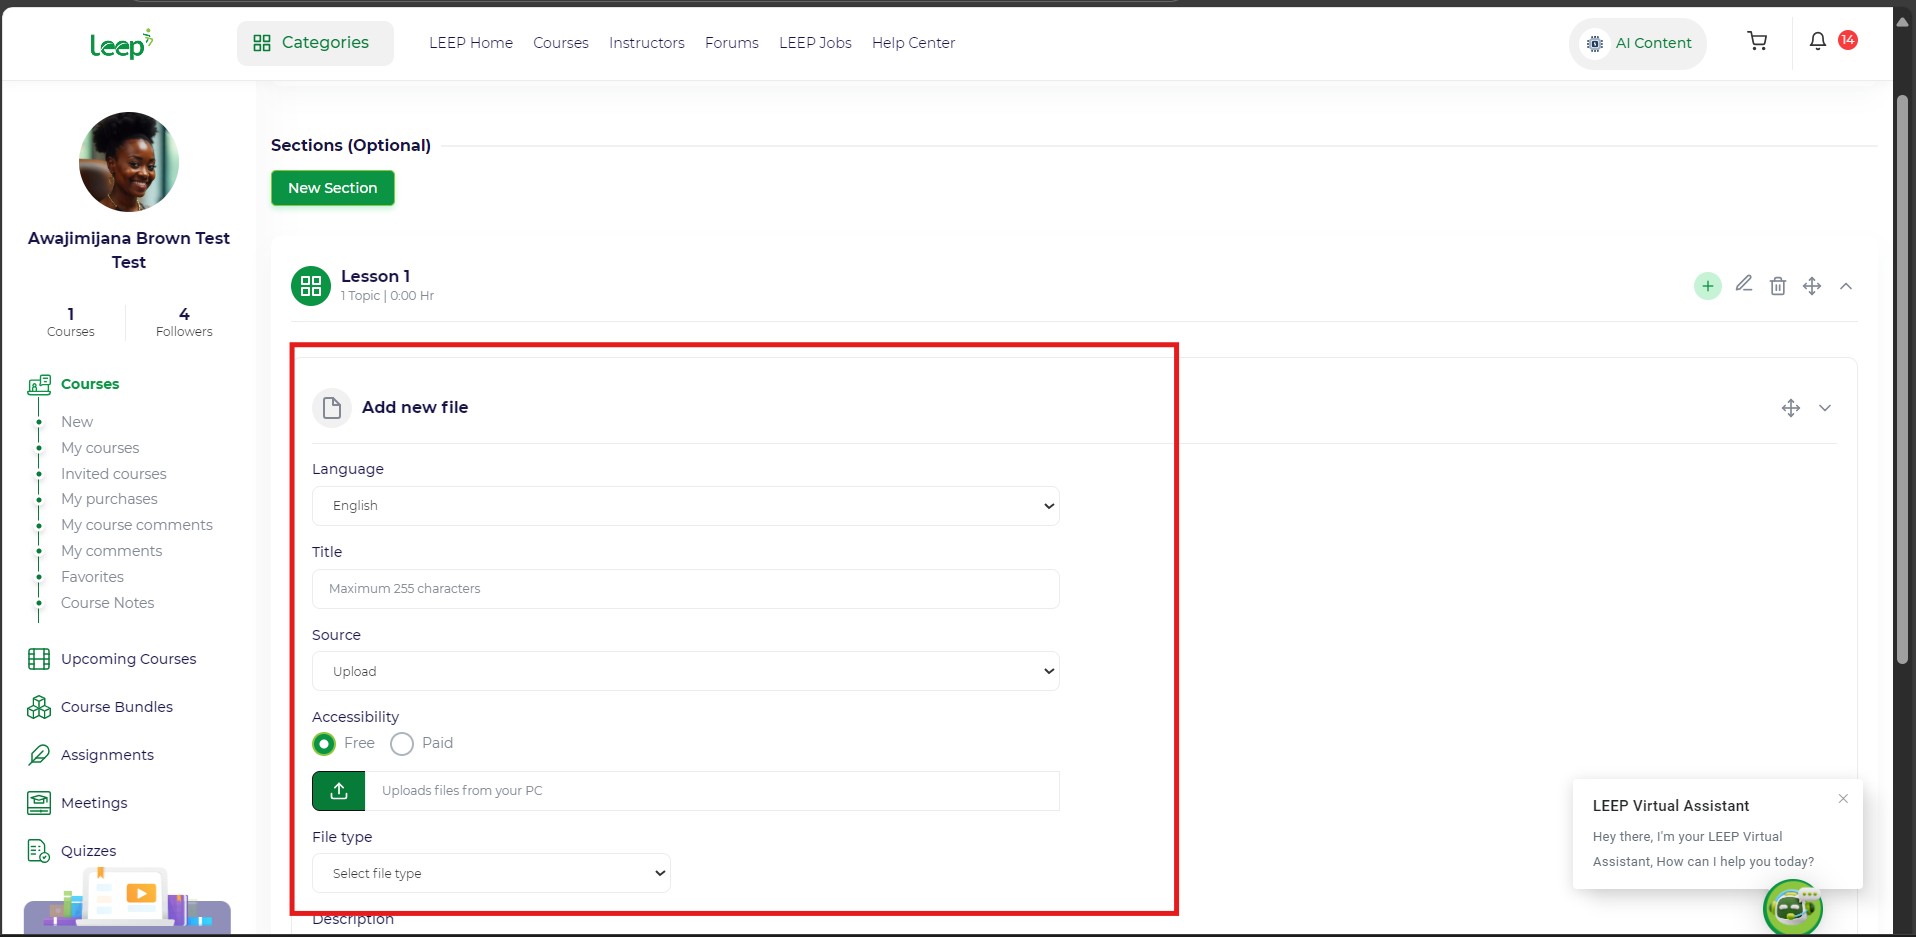
Input all fields as you wish
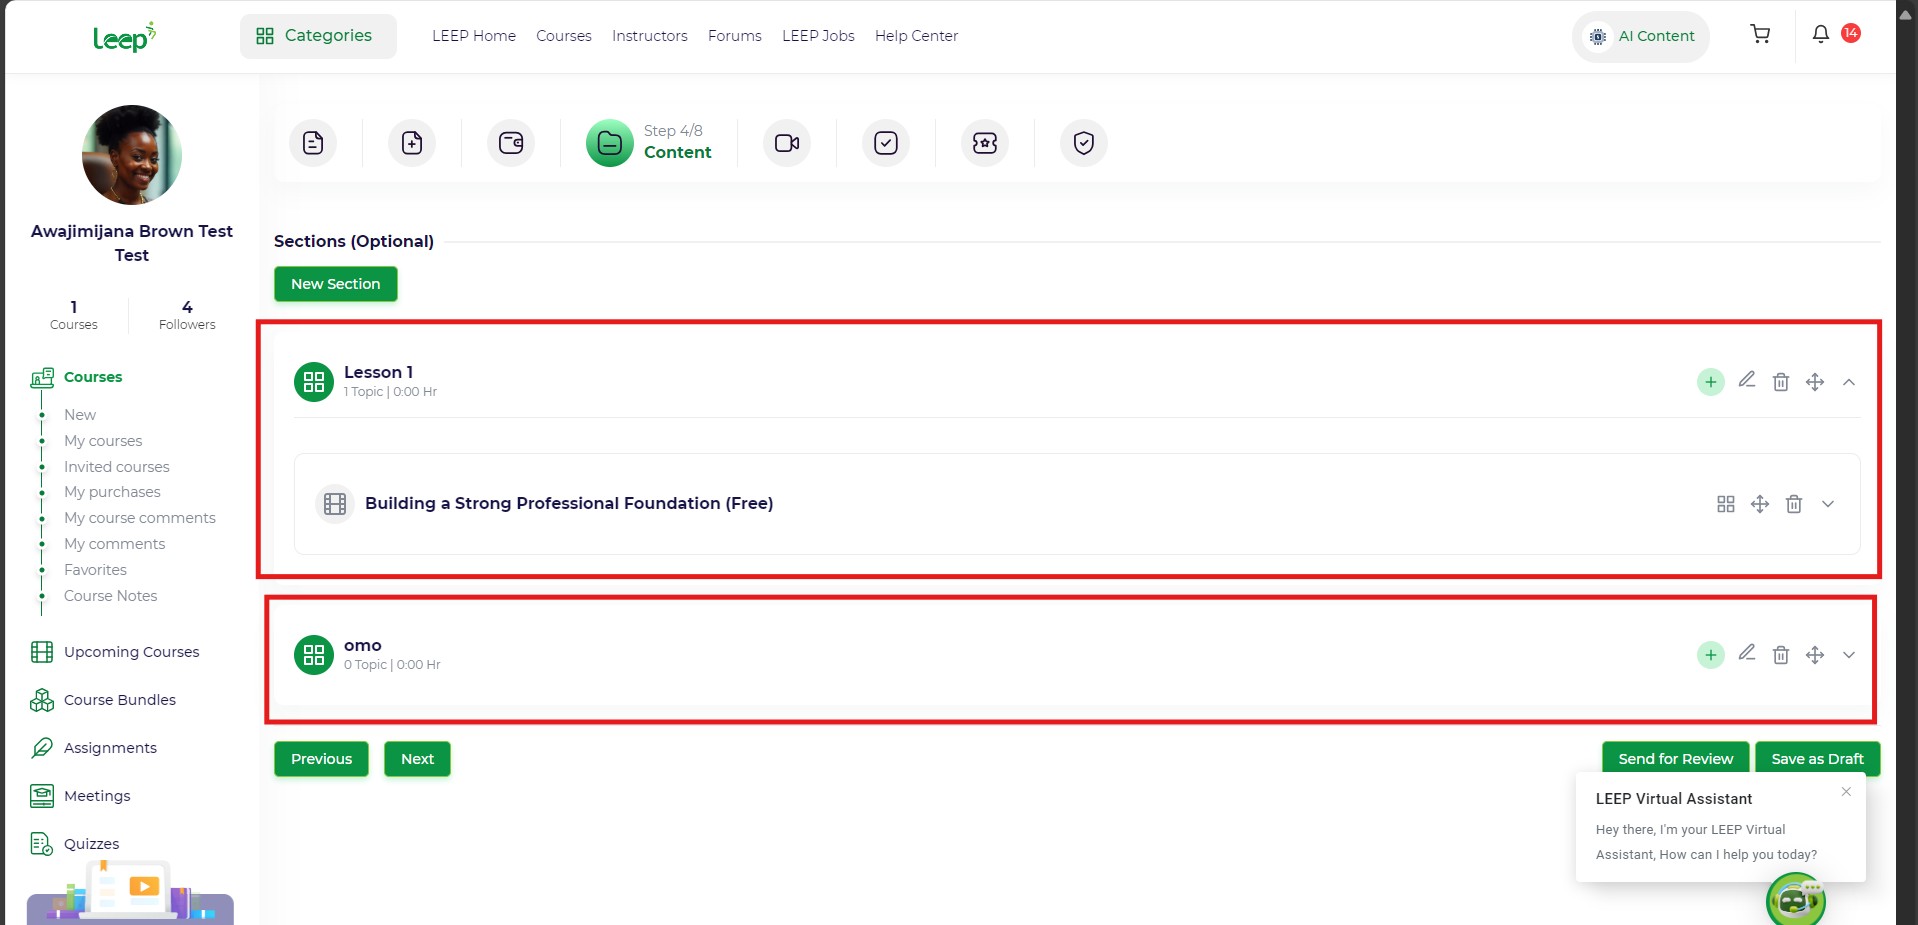
You can add multiple sections and organize your course structure effectively.
Click Next once you're done.
Step 5: Prerequisites
- (Optional) Add Prerequisite Courses that students must complete first.
- Set them as Required (mandatory) or just recommended.
- You can also add Related Courses for extended learning.

Click on the "New Prerequisite" button to a new prerequisite
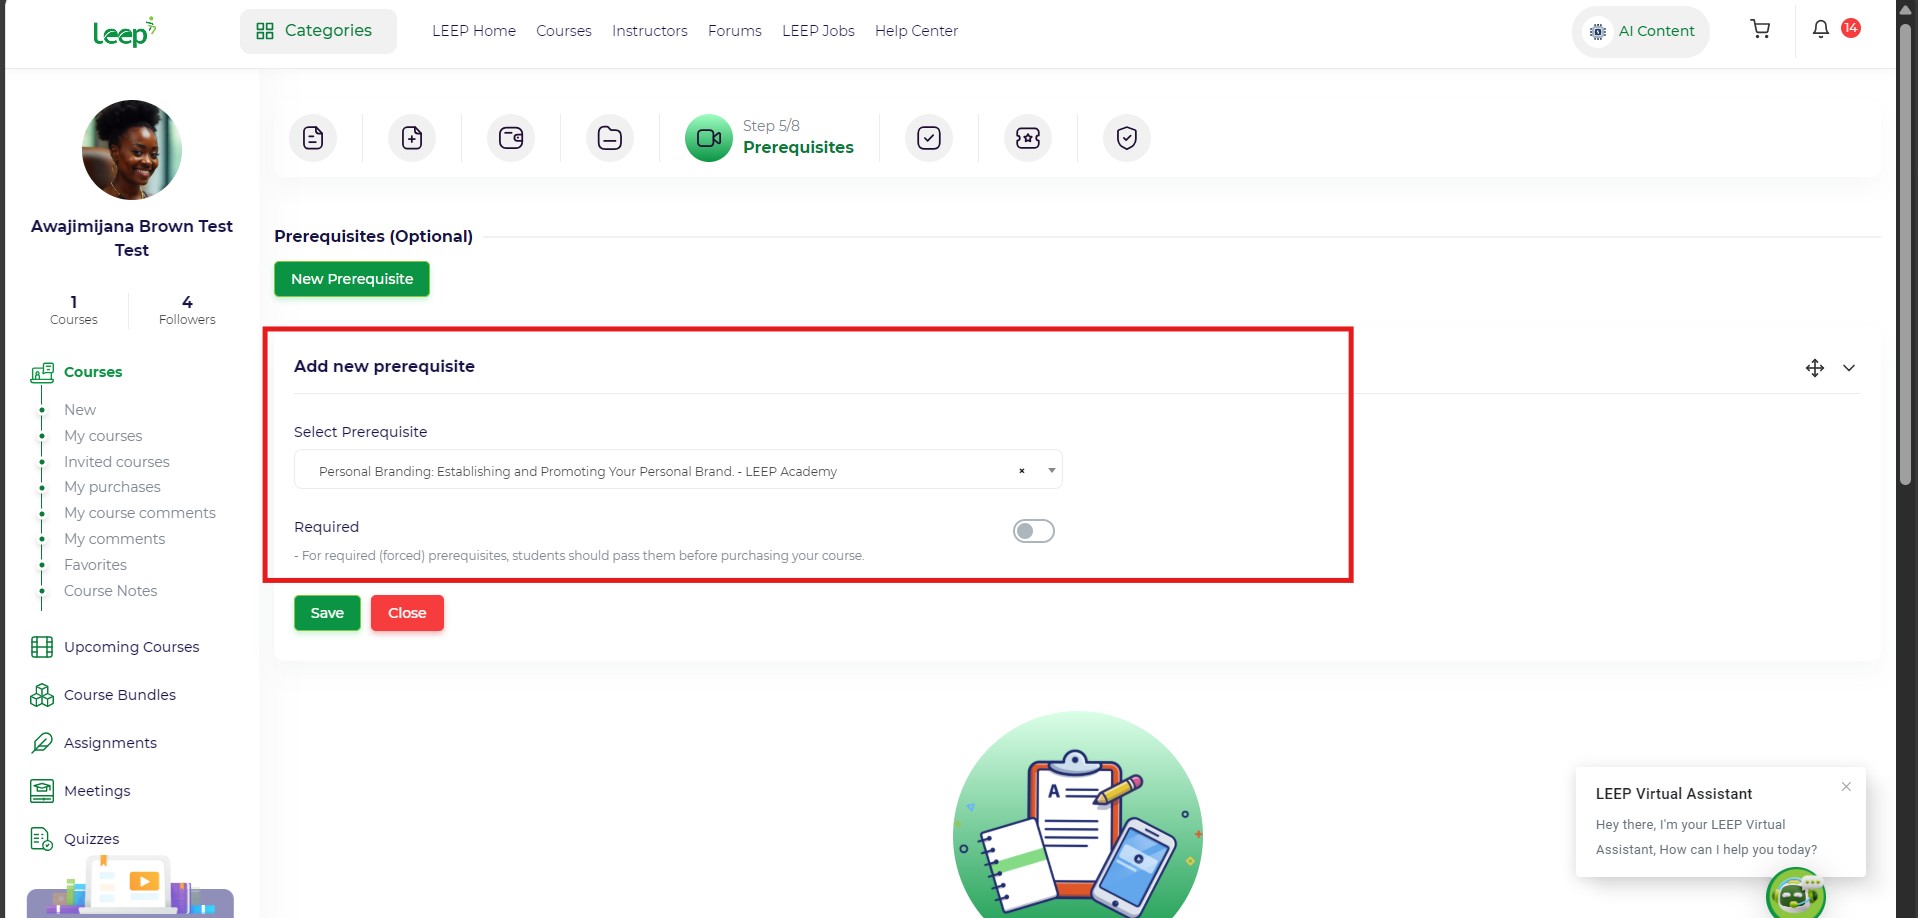
Add a prerequisite by entering the title an already existing course on the academy
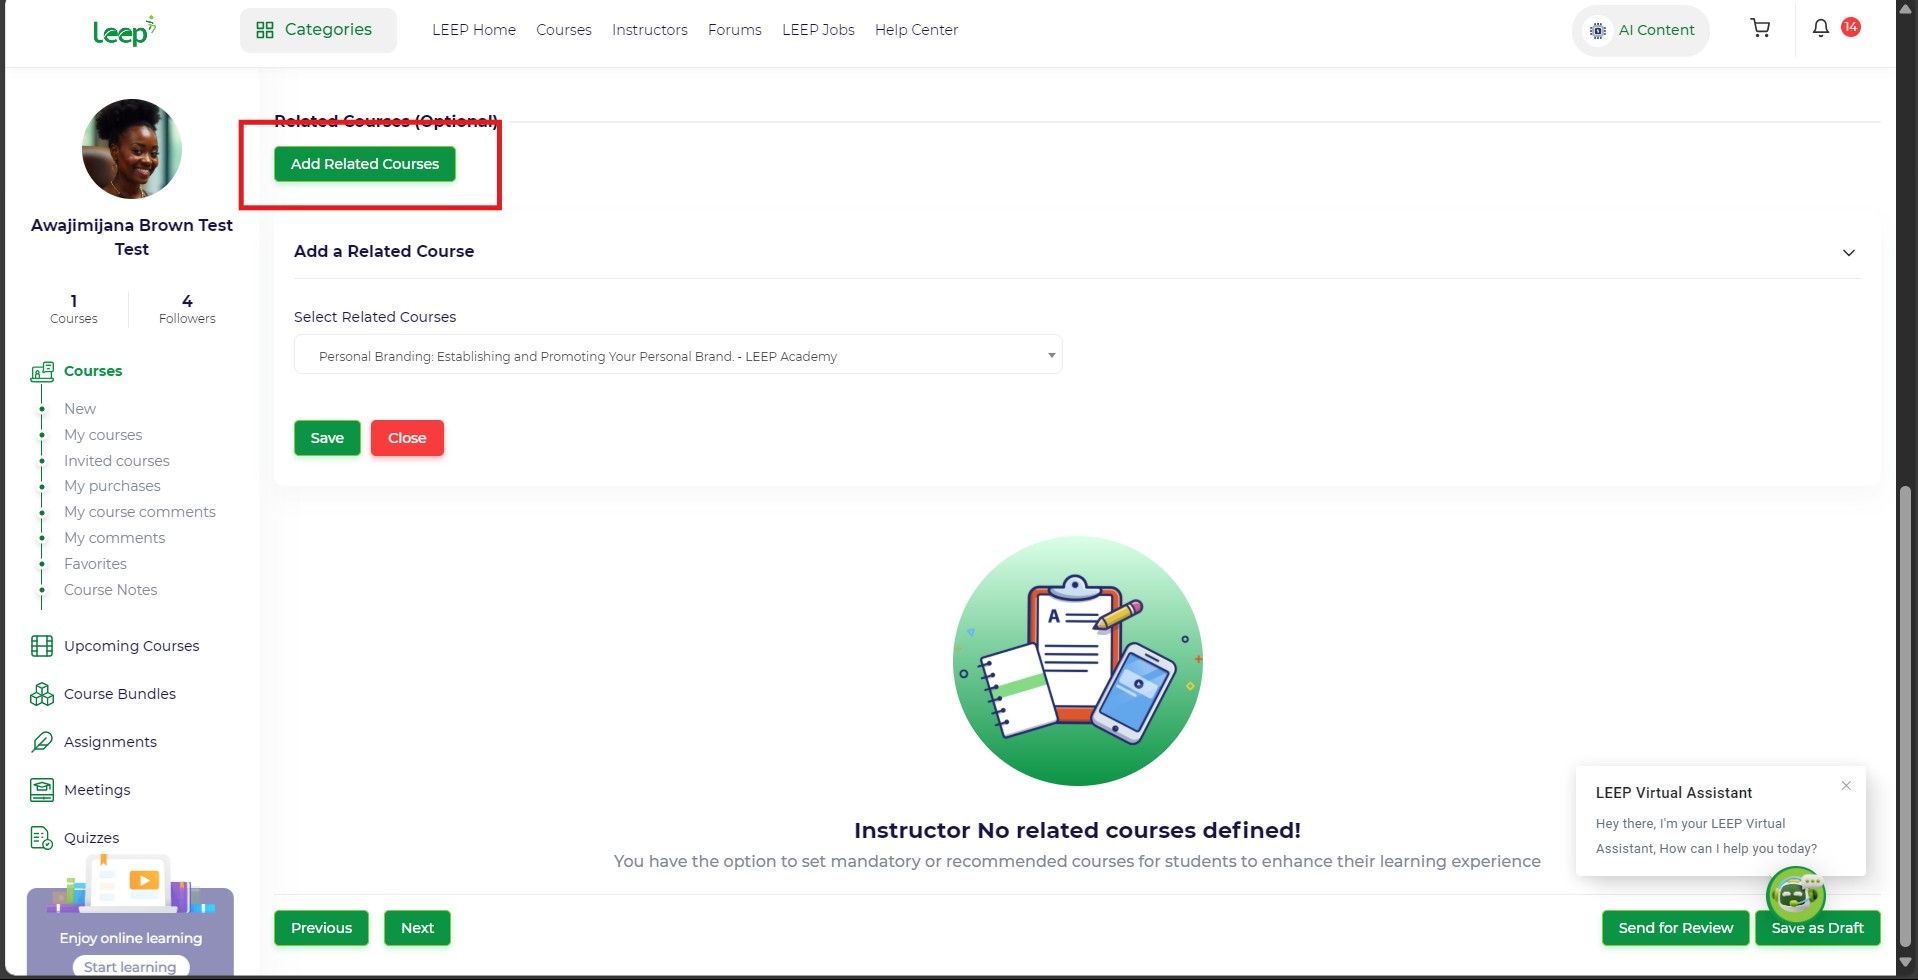
Then, you can decide to add related course, by clicking the "Add related course" button
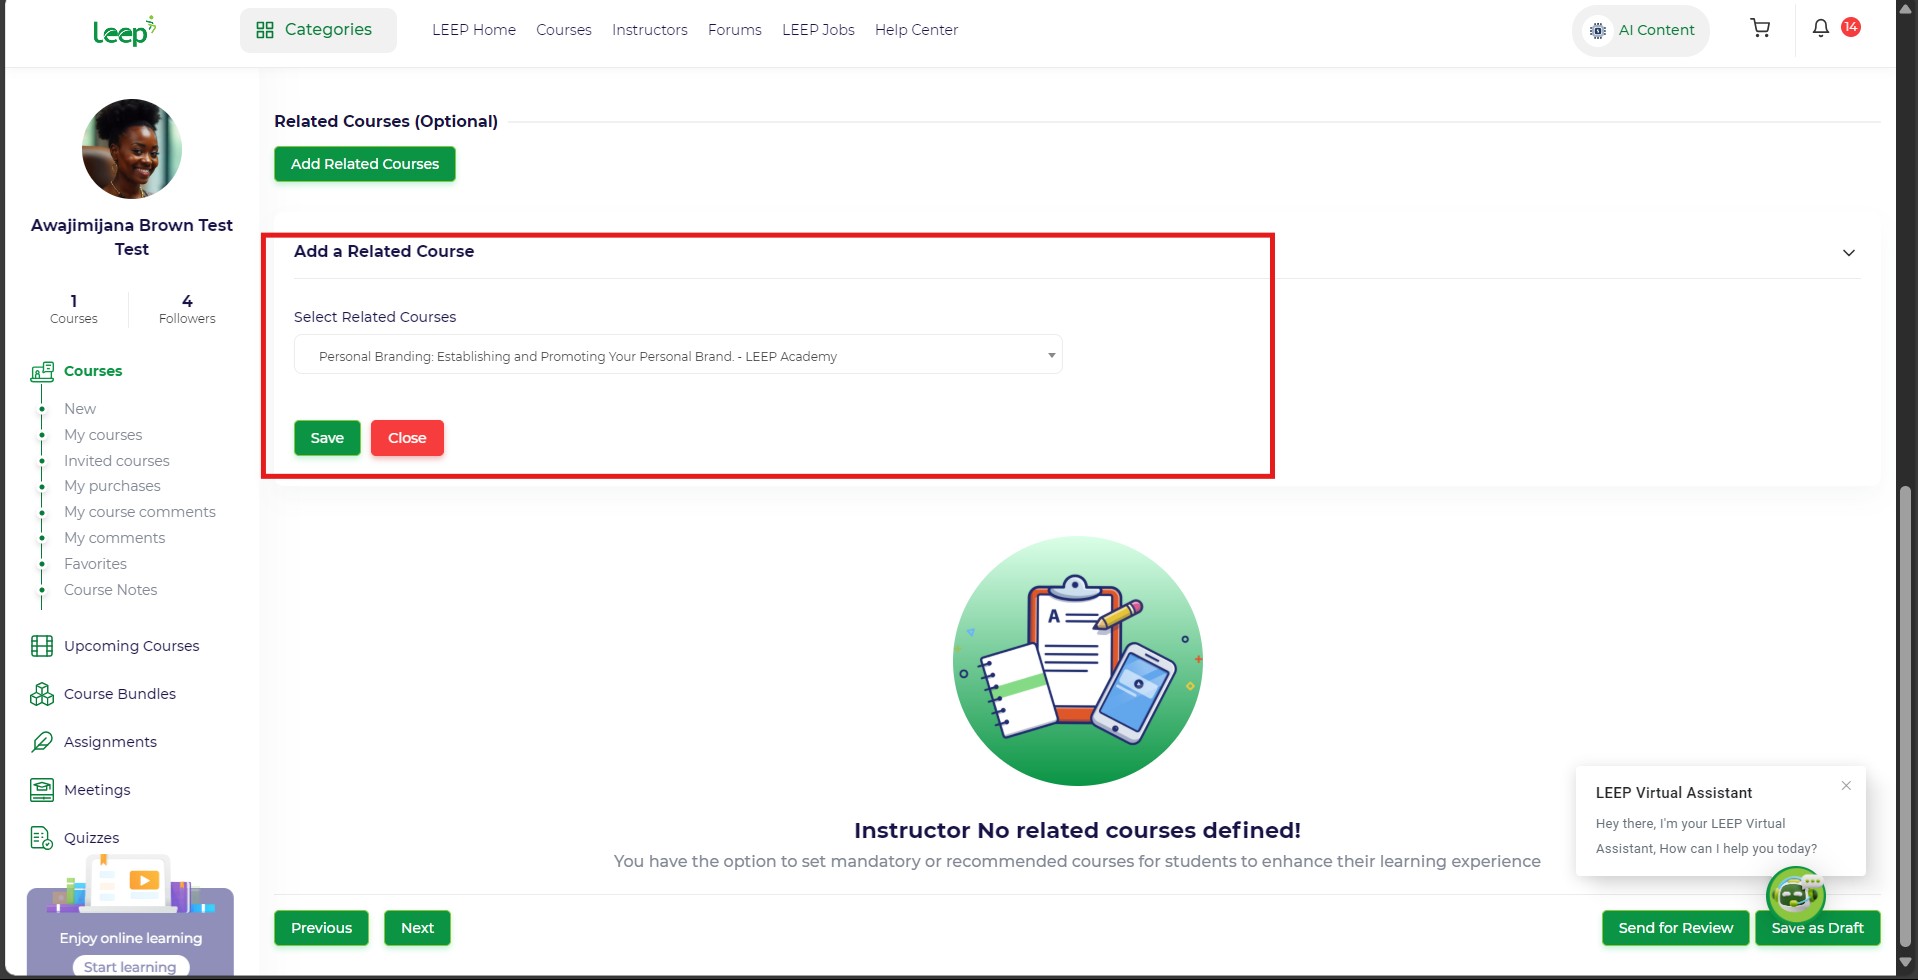
Fill up all required fields to your taste
Click Next.
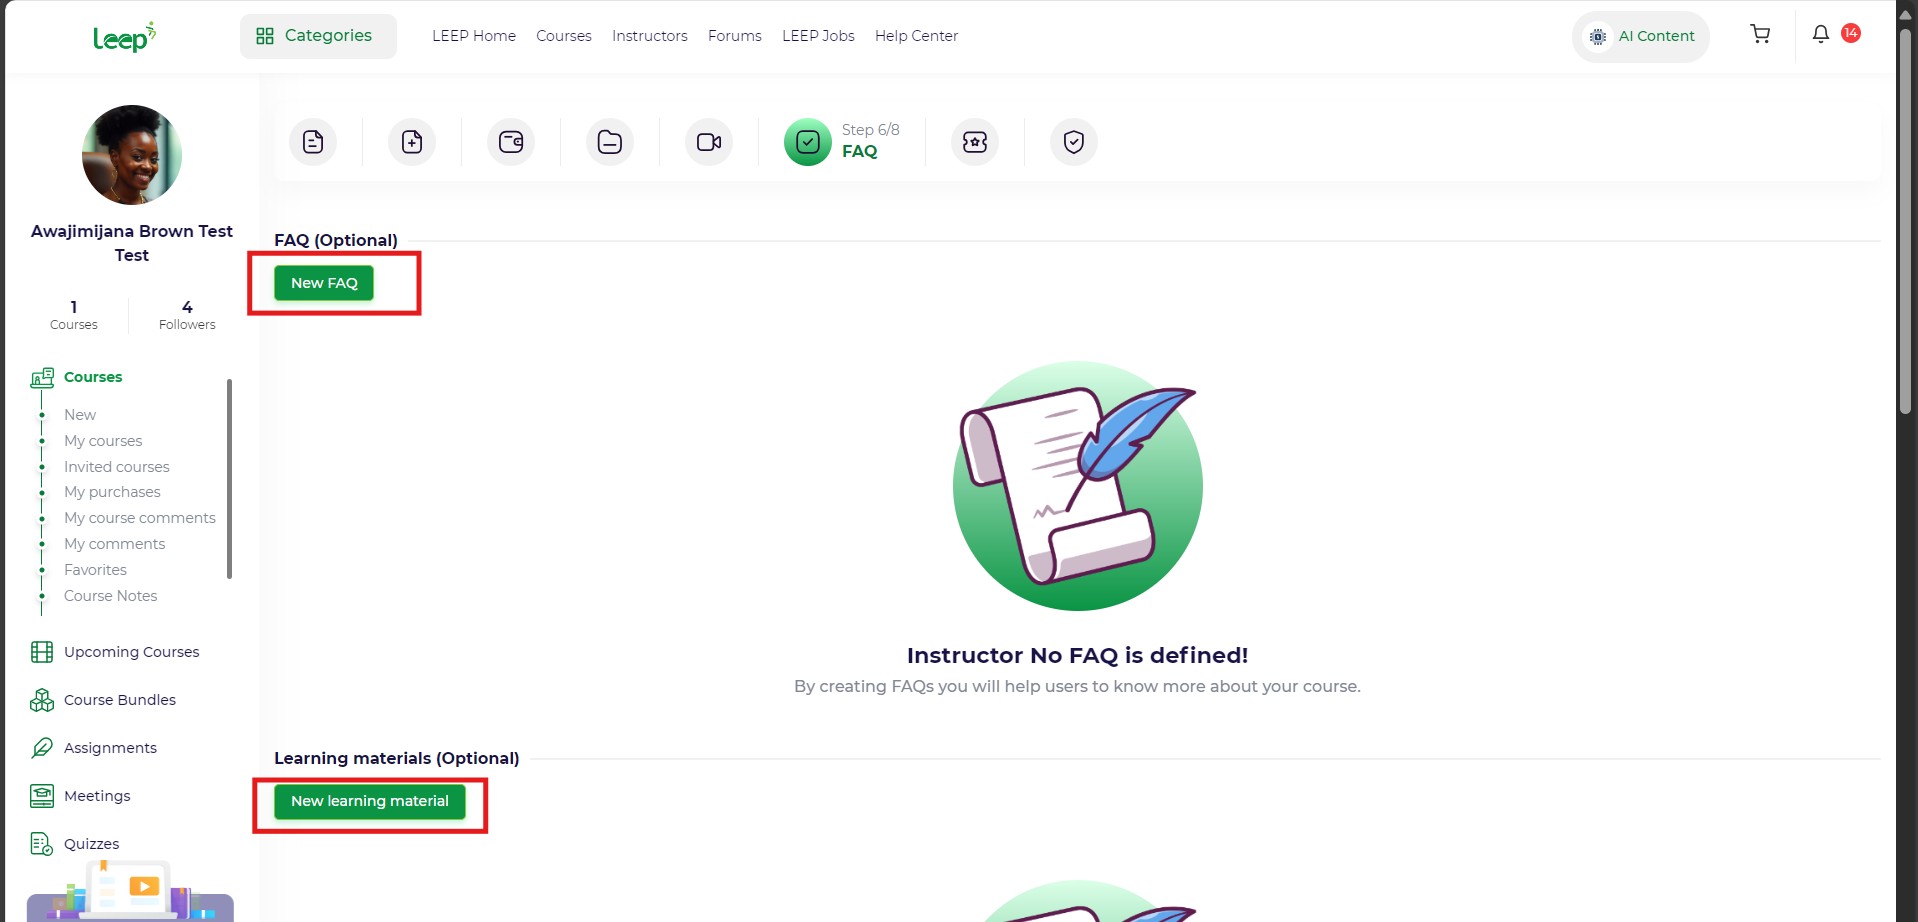
Step 6: FAQs, Learning Materials & Requirements
- Add FAQs to answer common questions about your course.
- Add Learning Materials – give an overview of what students will learn.
- Upload Company Logos if you're affiliated with any organization.
- Define any Course Requirements (e.g., access to a computer, prior knowledge).
When you are done, Click Next.
Step 7: Quiz & Certification (Optional)
- Create a New Quiz button:
- Enable Certificate on Completion.
- Mark it as Active.

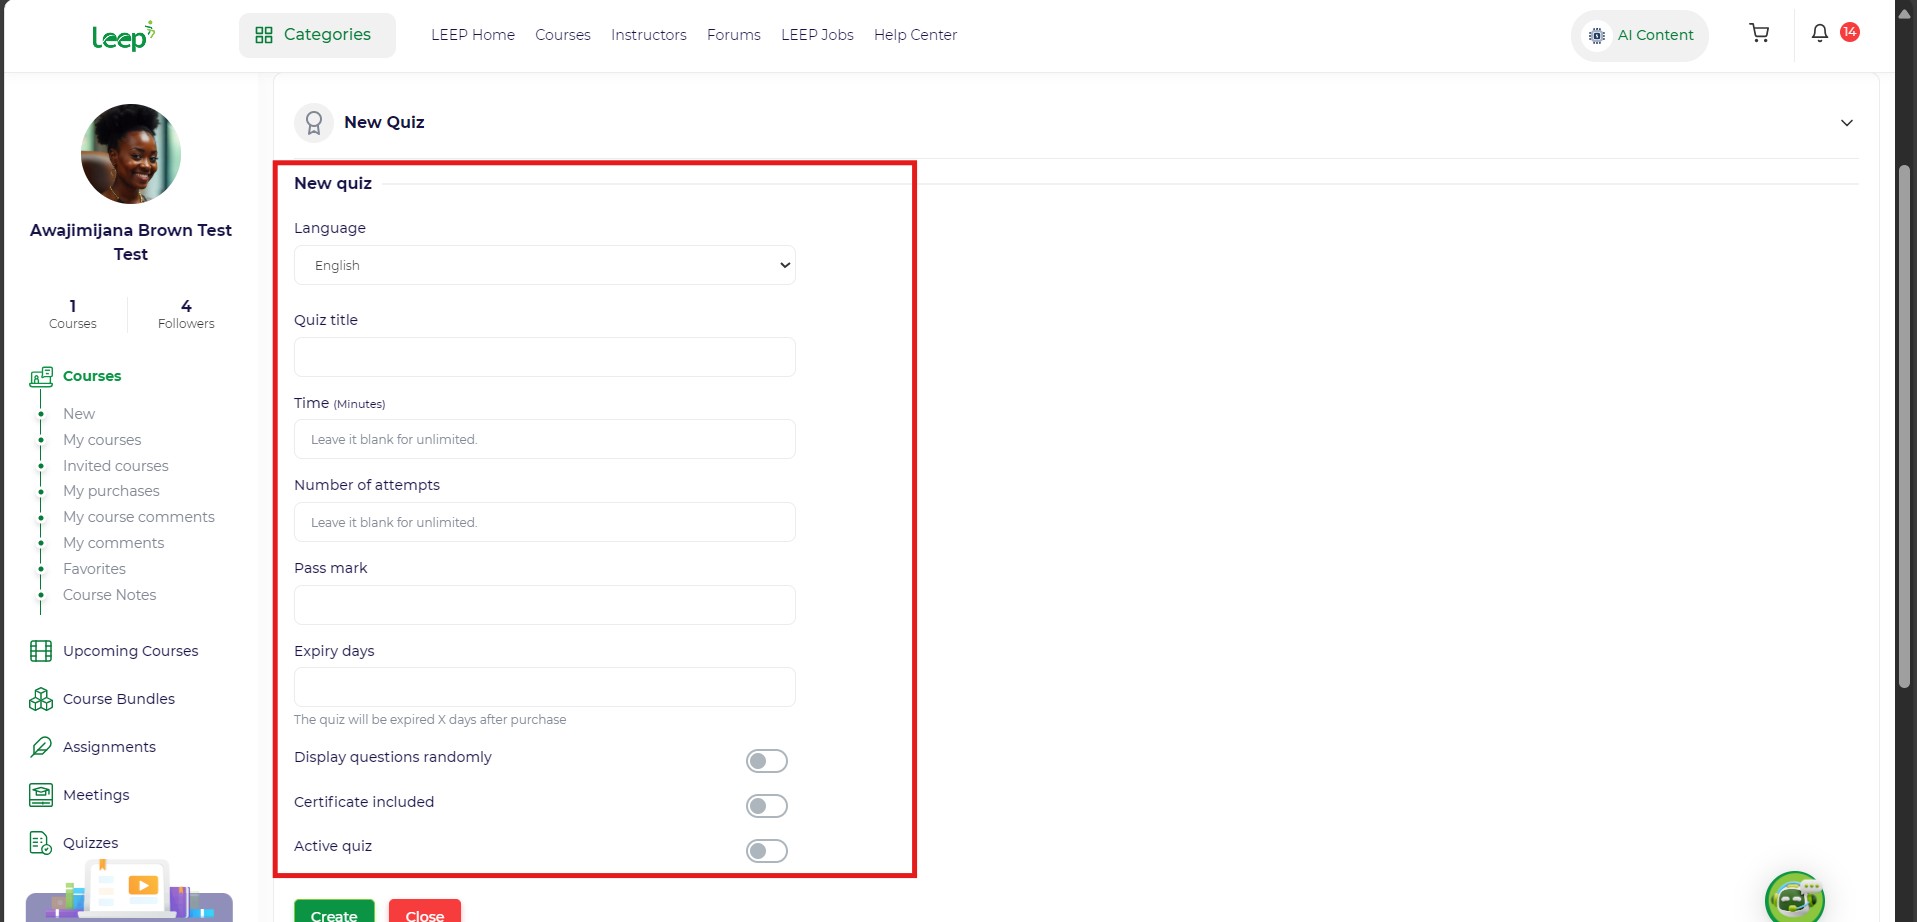
Fill up all fields to your tastes
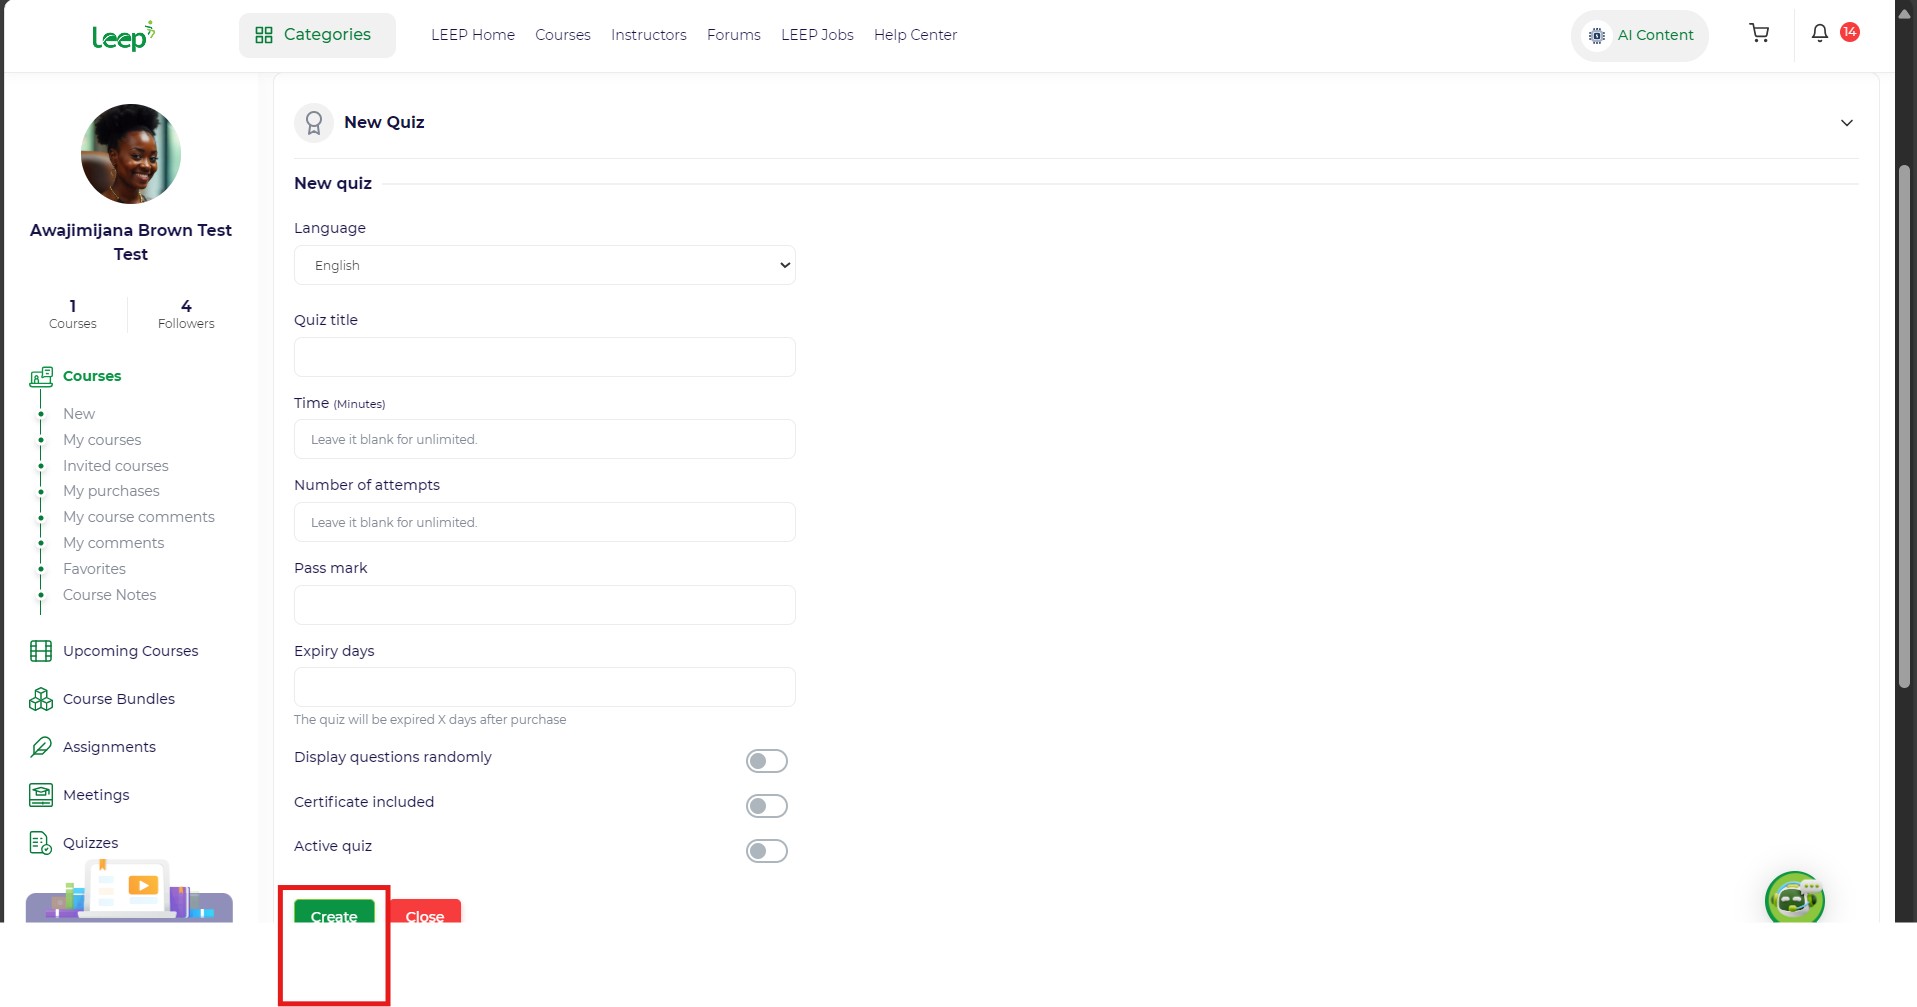
Then Create

After you have created a quiz title, go ahead to create question by clicking on "Add a multiple choice" after which,
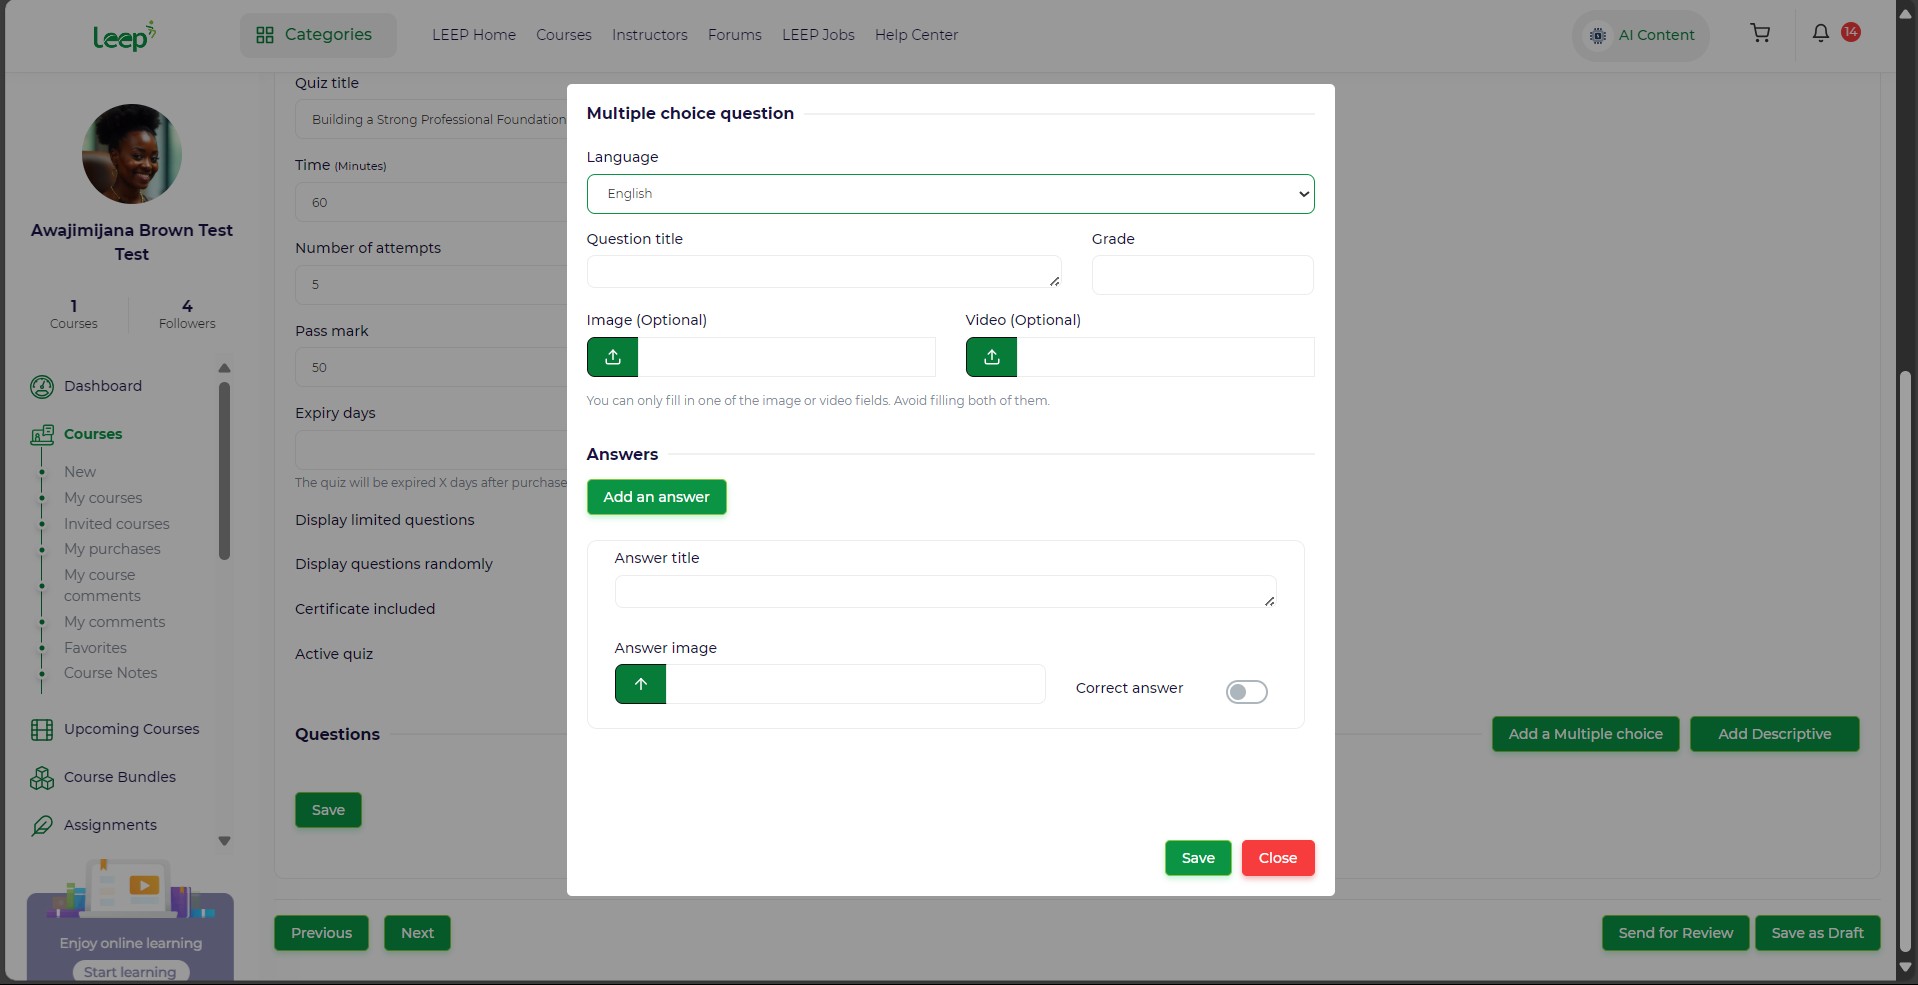
Fill in all fields

Click on the "Add answer" to add multiple choices to the question you created earlier. You can do this multiple times
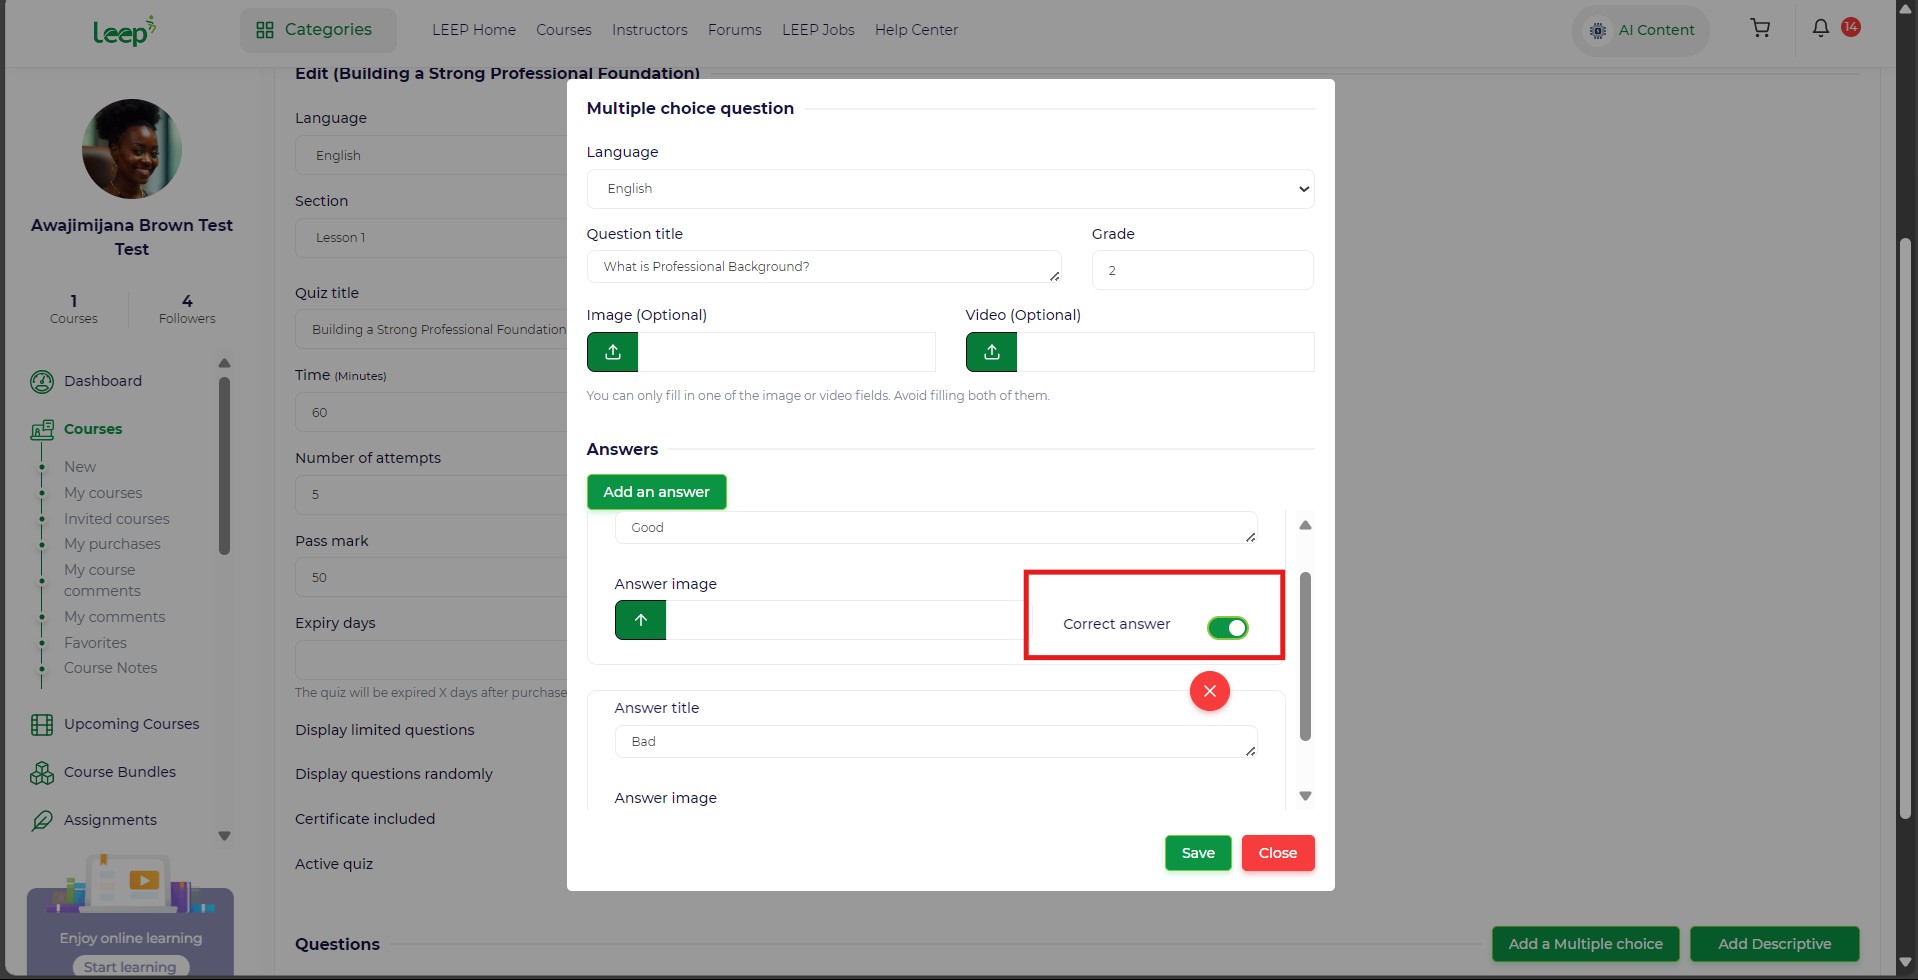
Then select which of the options is the correct one by turning on the toggle.
Click Save and Next.
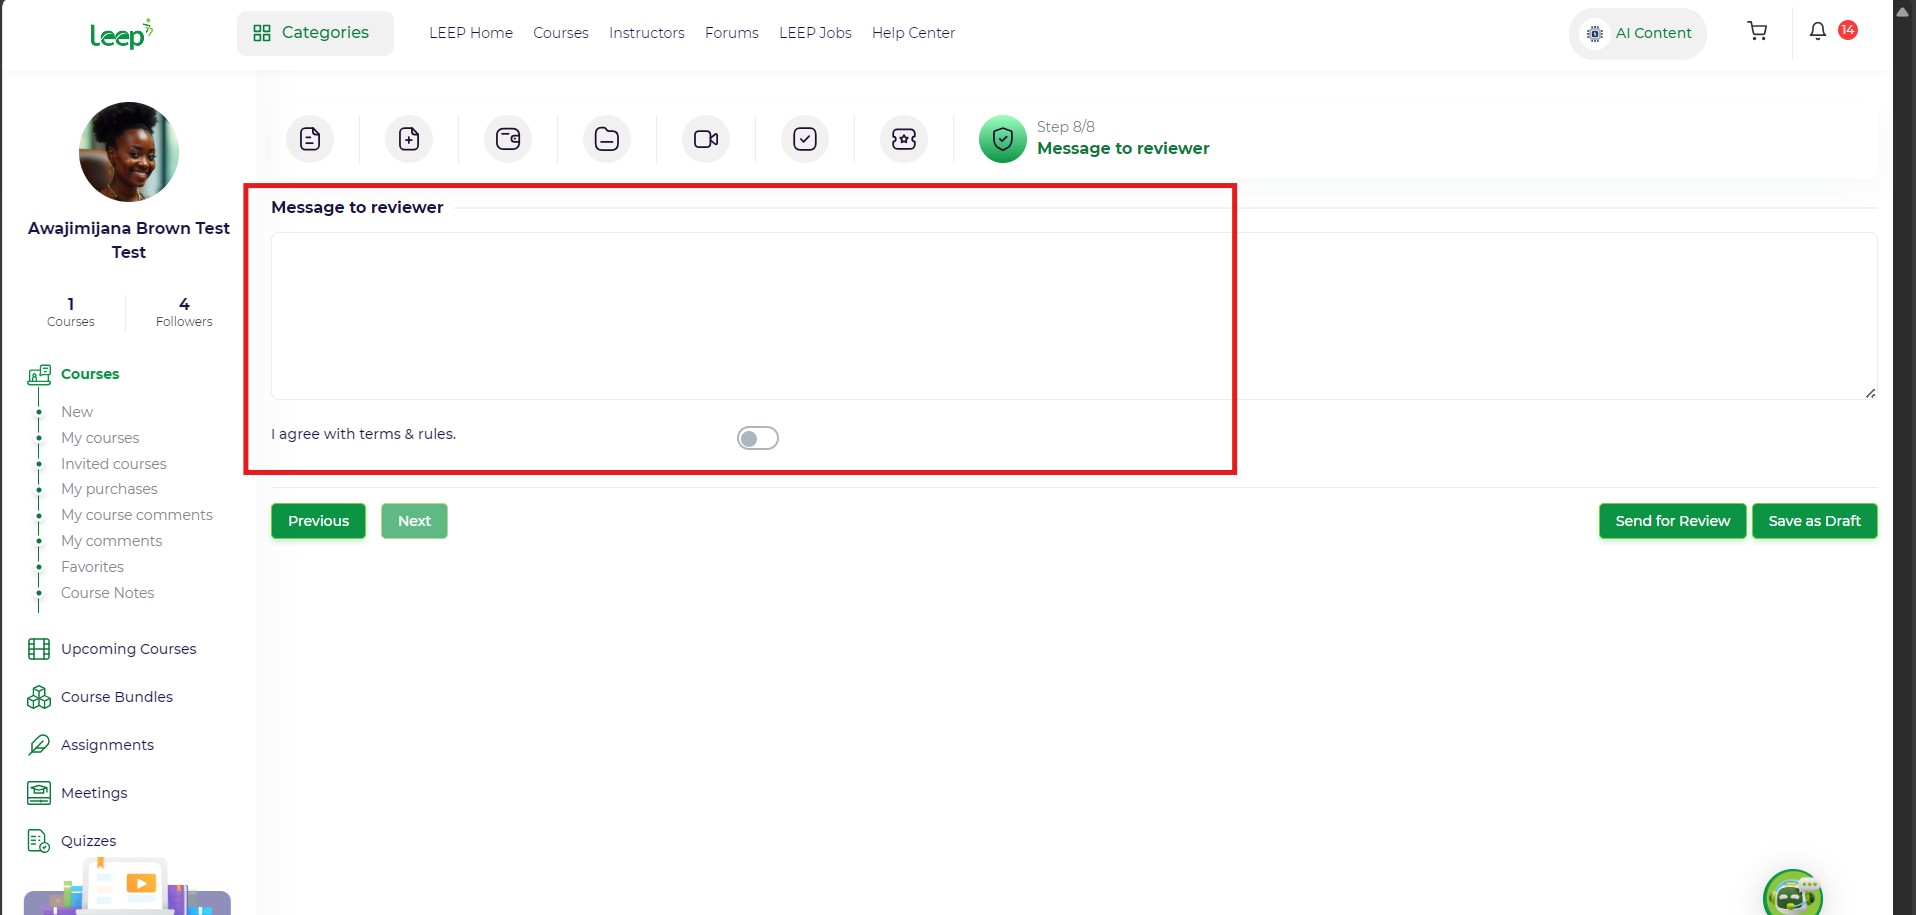
Step 8: Final Review and Submission
- Write a short Message to Reviewer if you have specific instructions or comments.
- Tick "I agree with terms & rules" to accept the platform's policy.
- Click Submit to send your course for review.
✅ You're Done!
Your course will now be reviewed by the LEEP Academy team. Once approved, it will be published for learners to enroll.
Need Help? Use the LEEP Virtual Assistant or visit the Help Center anytime during your course setup.